Skills 02 – Git for Simulation Software Development
Version-control habits for numerical projects
1 Version Control with Git
Problem: We change files frequently want to store different versions, track who changed what and when, and collaborate with others without overwriting each other’s work.
solver.py
solver_v1.py
solver_lamberts_changes.py
solver_final.py
solver_FINAL
solver_FINALFINALLLL.py
Version control systems like Git track changes to files over time, enabling:
- easier collaboration,
- history tracking,
- branching for experiments,
- safe rollbacks.
Version control is essential for managing the complexity (of simulation software development), where code, case setups, and post-processing scripts evolve together.
1.1 Key Features of Git
- Distributed Version Control: Each developer has a full copy of the project, including its history, which means work can be done offline and later synced with the central repository.
- Branching and Merging: Git allows the creation of branches to experiment with new features. These branches can be merged back into the main branch when the feature is ready.
- Fast and Lightweight: Git is designed to be fast and efficient, even for large projects.
- Data Integrity: Every file and commit is checksummed, ensuring the integrity of your code.
1.2 Basic Git Commands
git init: Initializes a new Git repository.git clone [url]: Clones a repository from a remote server.git status: Shows the status of changes in the working directory.
git statusHEAD detached at 0f25ee4
Changes not staged for commit:
(use "git add <file>..." to update what will be committed)
(use "git restore <file>..." to discard changes in working directory)
modified: ../_quarto.yml
modified: ../lectures/03.ipynb
modified: ../robots.txt
Untracked files:
(use "git add <file>..." to include in what will be committed)
../exercises/00-fd-repotemplate.html
../exercises/00-fd-repotemplate.pdf
../exercises/01-fem-notes.html
../exercises/01-fem-slides.html
../exercises/01-fem.pdf
../index.html
../index.pdf
../lectures/01-notes.html
../lectures/01-notes.pdf
../lectures/01-slides.html
../lectures/02-notes.html
../lectures/02-slides.html
../lectures/02.pdf
../lectures/03-notes.html
../lectures/03-slides.html
../lectures/03.pdf
../lectures/04-notes.html
../lectures/04-slides.html
../lectures/04.pdf
../lectures/05-notes.html
../lectures/05-slides.html
../lectures/05.pdf
../lectures/06-notes.html
../lectures/06-slides.html
../lectures/06.pdf
../quarto-1.8.25-linux-amd64.deb
../site_libs/
01-shell.html
01-shell.pdf
test_repo/
../syllabus.html
../syllabus.pdf
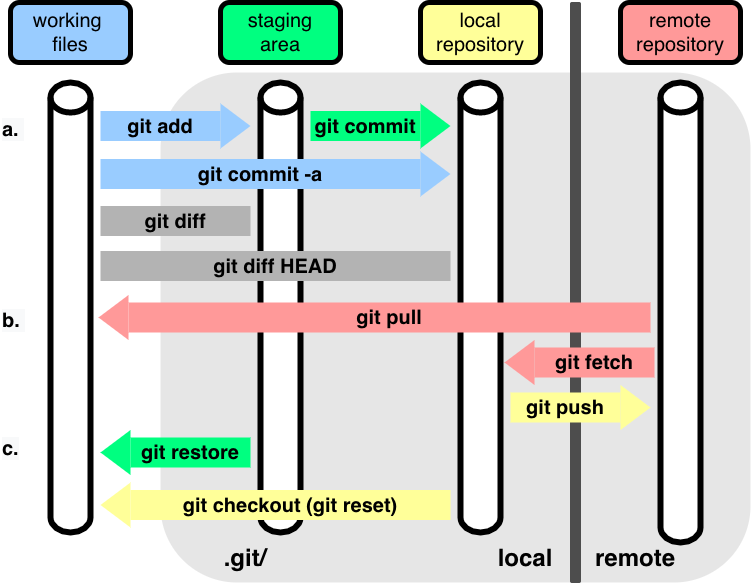
no changes added to commit (use "git add" and/or "git commit -a")git diff: Shows the differences between the working directory and the last commit.git add [file]: Stages a file for commit.git commit -m "[commit message]": Commits the staged changes with a message.git push: Pushes commits to a remote repository.git pull: Fetches and merges changes from a remote repository.git fetch: Fetches changes from a remote repository without merging.git branch: Lists branches in the repository.git checkout [branch]: Switches to a different branch.git merge [branch]: Merges a branch into the current branch.git rebase [branch]: Reapplies commits on top of another base tip.- … many more
1.3 IDE Integration
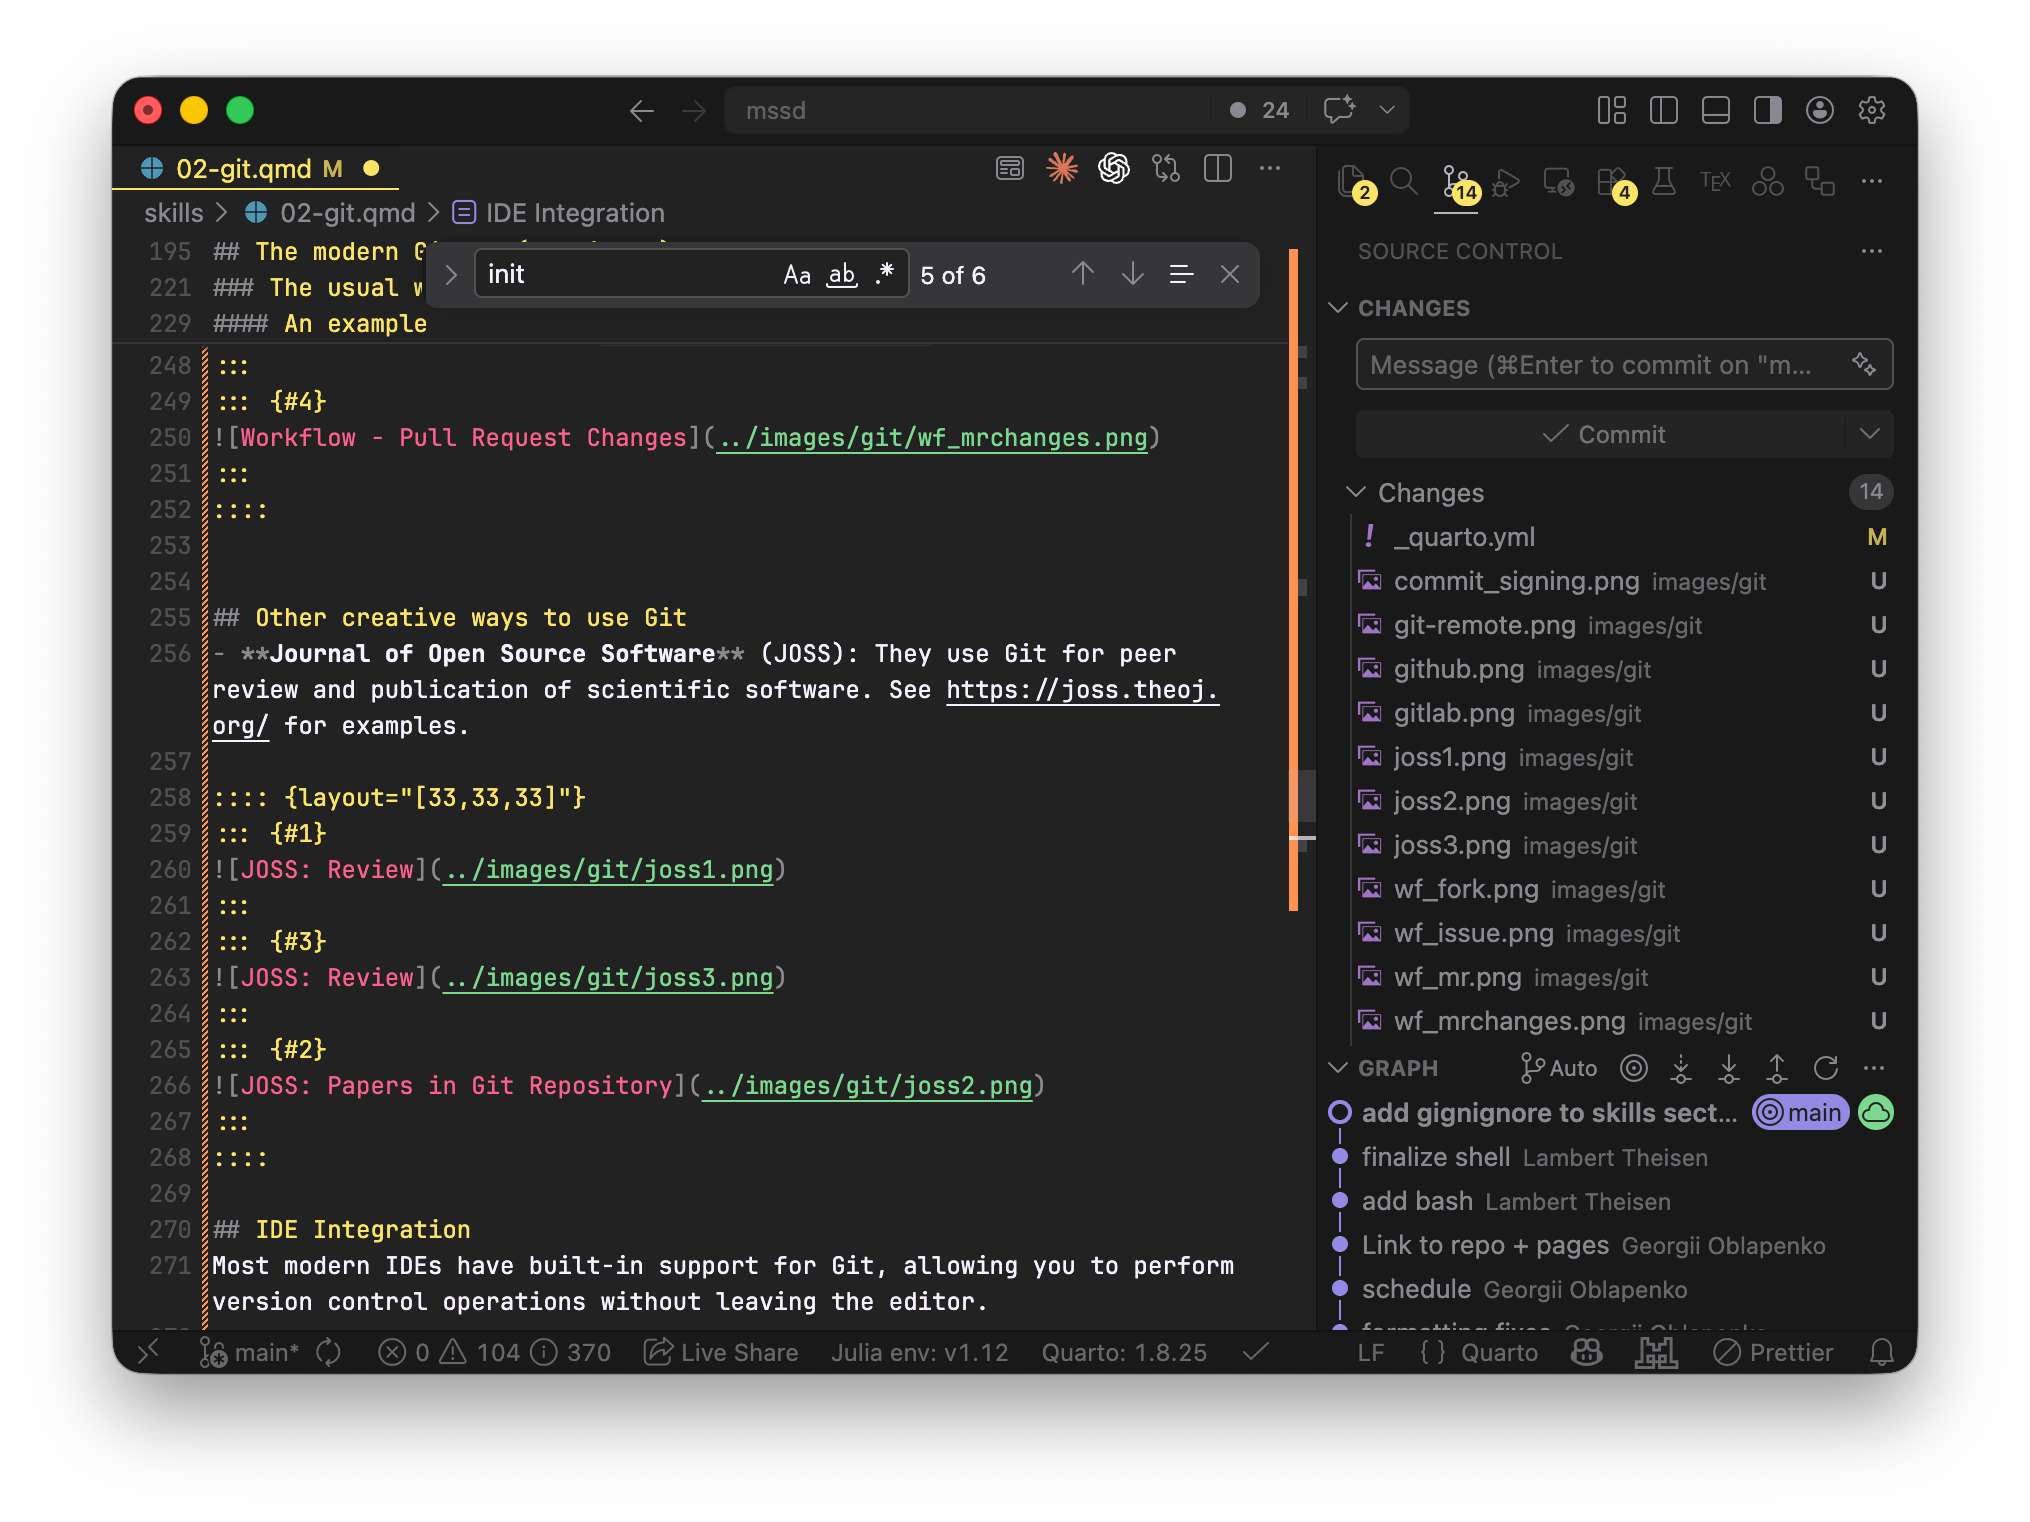
Most modern IDEs have built-in support for Git, allowing you to perform version control operations without leaving the editor.
While IDE integration can be convenient, it may not expose all Git features or may abstract away important details. It’s absolutely necessary to understand the underlying Git commands and concepts to use version control effectively, especially when resolving conflicts or performing complex operations!
1.4 Basic Git Workflow
- Create: Create Repo on the Gitlab instance in the Webbrowser (or in the terminal with
git init). - Clone: Clone the remote repository to your local machine:
git clone git@gitlab.git.nrw:rwth-acom/teaching/mssd.git- Edit: Navigate to the cloned repository directory and create a new file:
cd mssd
touch README.md- Staging: Add the new file to the staging area, preparing it for a commit:
git add README.md- Commit: Commit the staged file with a descriptive message:
git commit -m "Add README.md 😎"- Push: Push the commit to the remote repository:
git push origin mainEvery repository should have a README.md file that provides an overview of the project, instructions for setup and usage, and any other relevant information. The file is usually rendered in the Webbrowser and you can use Markdown syntax to format it nicely.
# Title
## Subtitle
- Bullet point 1
- Bullet point 2
....
1.5 Commit messages
Write descriptive commit messages: what changed, why it changed, and the expected numerical impact.
Use stricter linear solver tolerance in Stokes solve

- switch rtol from 1e-6 to 1e-8
- improve pressure smoothness near outlet
- runtime +12% on reference mesh
1.6 What usually to track in Git for simulation software development?
- Source code (
.py,.jl, solver scripts) - Case dictionaries (OpenFOAM) / config files,
- Mesh generation scripts
- Post-processing scripts
- Documentation and run notes
- Environment setup scripts (e.g.
requirements.txt,environment.yml).
Avoid (or think twice before) tracking:
- large (binary) outputs,
- generated visualization files,
- local caches/build artifacts. Put these in
.gitignoreto keep the repository clean and efficient.
.gitignore-example:
# Ignore all files in the build directory
docs/build/*
# Ignore all .data files
*.data
# Ignore all .log files
*.log
# ...Use the Git Large File Storage (LFS) extension for large files that need to be versioned, but be mindful of storage limits and costs. See https://git-lfs.github.com/ for more details.
# content of .gitignore (dot means hidden file)
docs/build/*  # (star/asterix is placeholder/wildcard to ignore everything in that folder)
2 Getting Started
2.1 Identity Setup
To start using Git, first install it on your machine. Then, set up your user name and email with the following commands:
git config --global user.name "Your Name"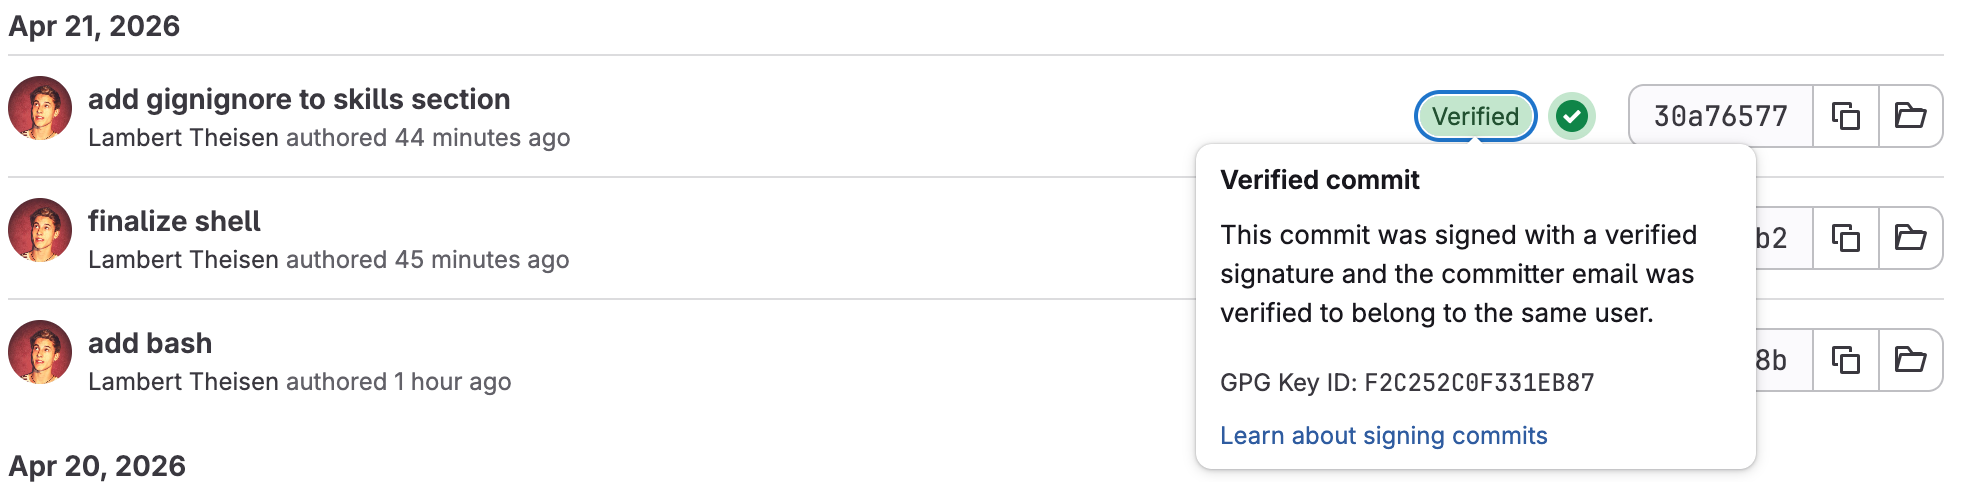
git config --global user.email "your.email@example.com"In principle, anyone could use your name and email to make commits, see this story for more details. To prevent this, you can sign your commits with GPG keys, which adds an extra layer of security and authenticity to your commits.
2.2 Authentification on Gitlab/Github platforms
For pushing to remote repositories, you need to authenticate. The easiest way is to use SSH keys:
- Generate an SSH key pair if you don’t have one:
ssh-keygen -t ed25519 -C "your_email@example.com"Generating public/private ed25519 key pair.
Enter file in which to save the key (/root/.ssh/id_ed25519):- Add the public key to your Gitlab/Github account (copy the content of
~/.ssh/id_ed25519.puband add it in the SSH keys section of your account settings).
Please secure your keys with a strong passphrase because access to your private key means that someone could steal your identity and access your repositories!
2.3 Branching and resolving conflicts
When working on a new feature or experiment, create a new branch to keep your changes isolated from the main branch. This allows you to work on multiple features simultaneously without affecting the stable codebase or other devs.
Example:
rm -rf test_repo
mkdir test_repo
cd test_repo
git init -b main
git config user.name "MSSD Example"
git config user.email "mssd-example@example.com"
git config commit.gpgsign false
echo "Hello, World!" > file.txt
git add file.txt
git commit -m "Initial commit with file.txt"
git log
Initialized empty Git repository in /builds/lambert.theisen/mssd-mirror/skills/test_repo/.git/
[main (root-commit) 8c9bf69] Initial commit with file.txt
1 file changed, 1 insertion(+)
create mode 100644 file.txt
commit 8c9bf6944a797780febb4dc6da4d8d48e549be56
Author: MSSD Example <mssd-example@example.com>
Date: Mon May 18 16:52:49 2026 +0000
Initial commit with file.txtcd test_repo
git checkout -b feature-branch
echo "This is a new feature." >> file.txt
git add file.txt
git commit -m "Add new feature to file.txt"[feature-branch 37f651b] Add new feature to file.txt
1 file changed, 1 insertion(+)Switched to a new branch 'feature-branch'Somebody else changes the main branch meanwhile:
cd test_repo
git checkout main
echo "This is a change in main." >> file.txt
git add file.txt
git commit -m "Change in main branch"
[main 6b1152f] Change in main branch
1 file changed, 1 insertion(+)Switched to branch 'main'Now, if you try to merge feature-branch into main, you will encounter a conflict because both branches have modified the same line in file.txt:
cd test_repo
git checkout main
git merge feature-branch
Auto-merging file.txt
CONFLICT (content): Merge conflict in file.txt
Automatic merge failed; fix conflicts and then commit the result.Already on 'main'Inspect the merge conflict in file.txt and resolve **:
cd test_repo
cat file.txt  # show the conflict markers
# Edit file.txt to resolve the conflict, then stage and commit the resolution
echo "This is a change in main." > file.txt
echo "This is a new feature." >> file.txt
git add file.txt
git commit -m "Resolve merge conflict between main and feature-branch"
Hello, World!
<<<<<<< HEAD
This is a change in main.
=======
This is a new feature.
>>>>>>> feature-branch
[main 749d336] Resolve merge conflict between main and feature-branch2.4 Merging and rebasing
When your feature branch is ready, you can merge it back into the main branch. If there have been changes in the main branch since you created your feature branch, you can either:
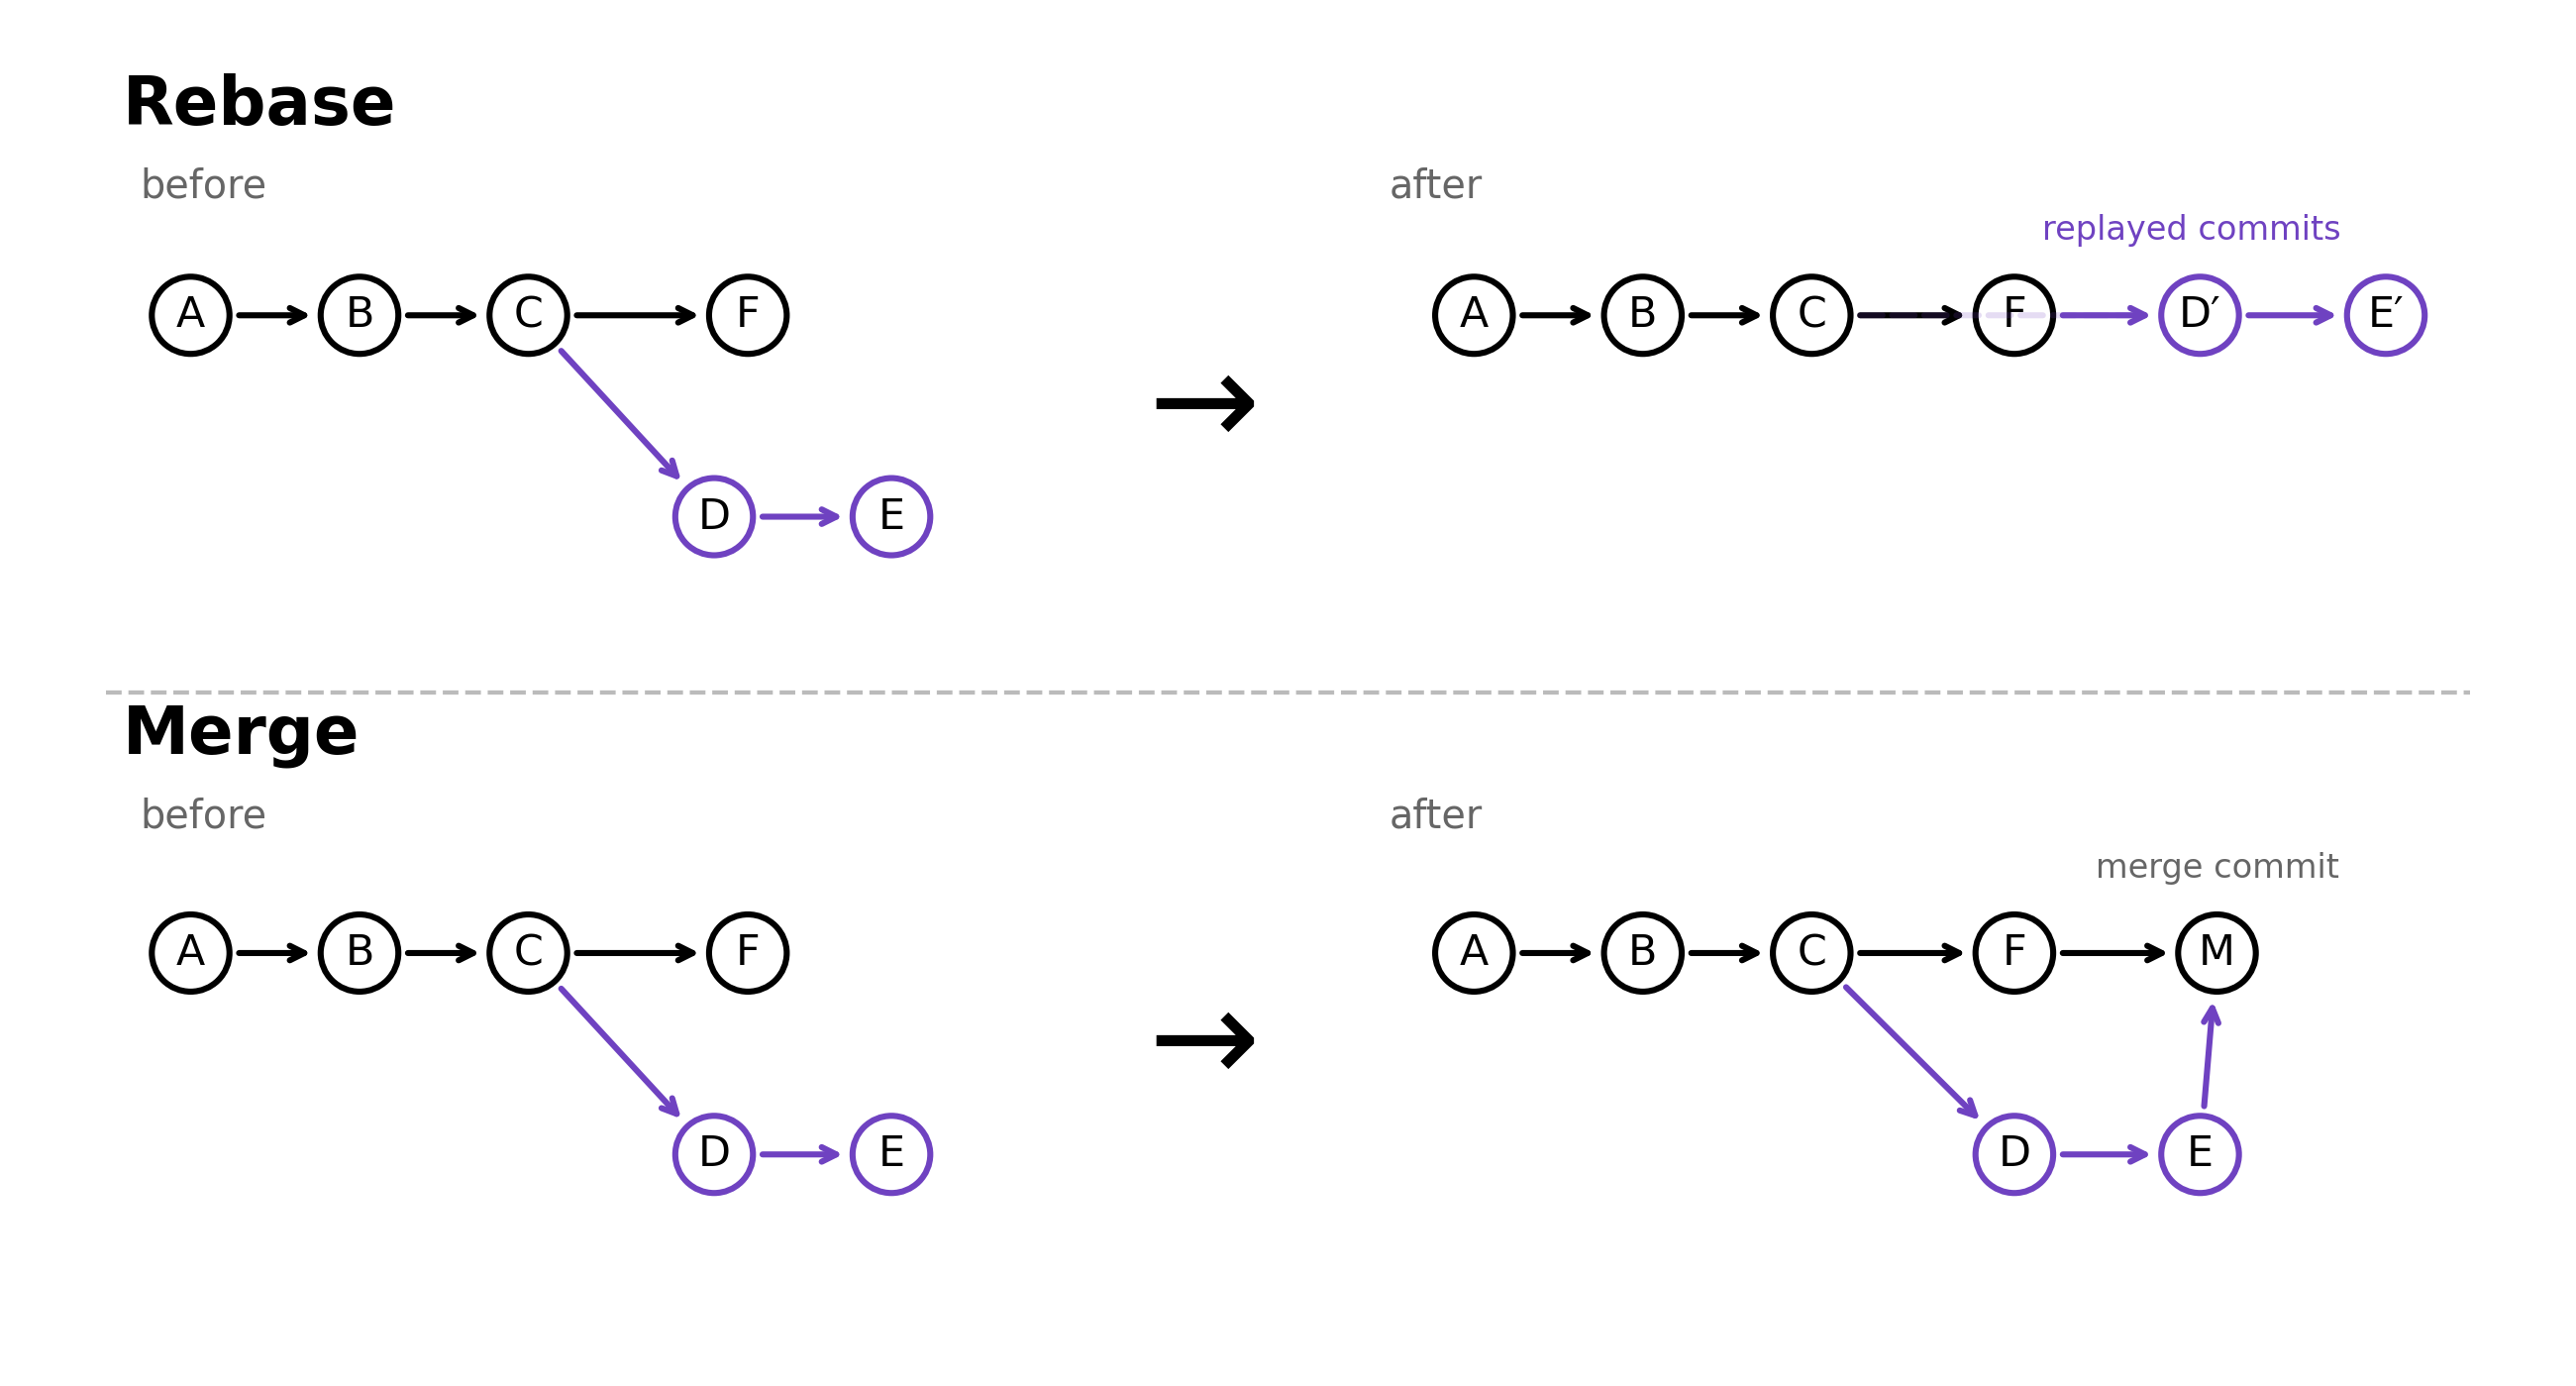
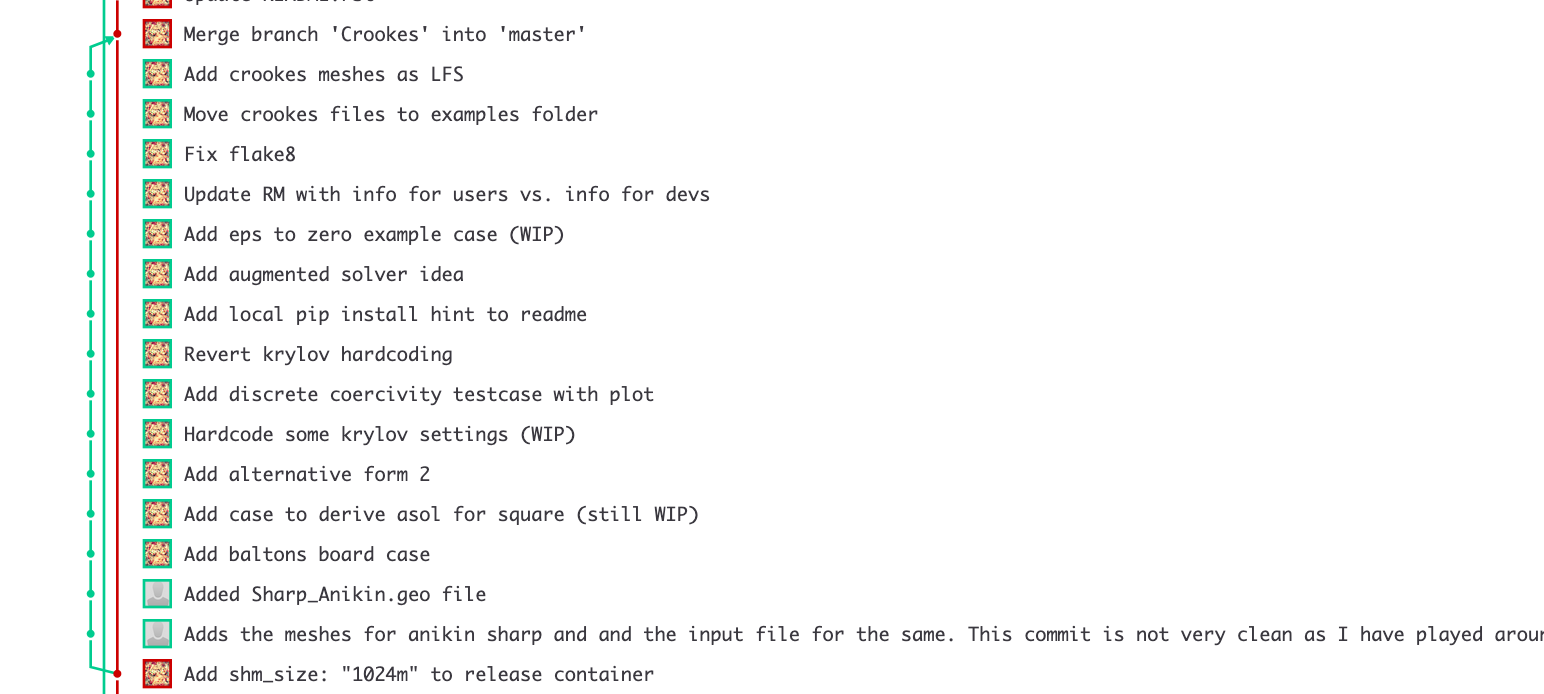
- Merge the main branch into your feature branch. After resolving conflicts, you would create a merge commit combining both histories.
- Pro: complete history with feature evolution / context
- Con: more cluttered commit history (merge commits), especially for complex features with many commits.
- Rebase your feature branch onto the latest main branch. This rewrites the history of your feature branch to appear as if you had created it from the latest main branch, which can lead to a cleaner commit history.
- Pro: results in a cleaner, linear commit history without merge commits, making it easier to understand the sequence of changes.
- Con: can be more complex to manage, especially if there are conflicts during the rebase process. It also rewrites history, which can cause issues if the feature branch has already been shared (
pushed) with others.
Different projects and teams have different preferences for merging vs. rebasing, and there is no one-size-fits-all answer. Search for a CONTRIBUTING.md file in the repository or ask the maintainers for their preferred workflow.
One possible strategy: If the feature branch is already shared with others, prefer merging to avoid rewriting history. If the feature branch is still local and not shared, use rebase.
Or: Rebase first and then merge to preserve a clean history while still showing the feature branch as a separate line of development.
3 The Gitlab (or Github) ecosystem
Besides the basic git software, there was a rich ecosystem of platforms and tools that enhance collaboration and project management created.
The two major platforms are Gitlab and Github, which offer:
- web-based interfaces for repository management,
- issue tracking,
- pull/merge requests,
- CI/CD pipelines,
- project wikis,
- and more.
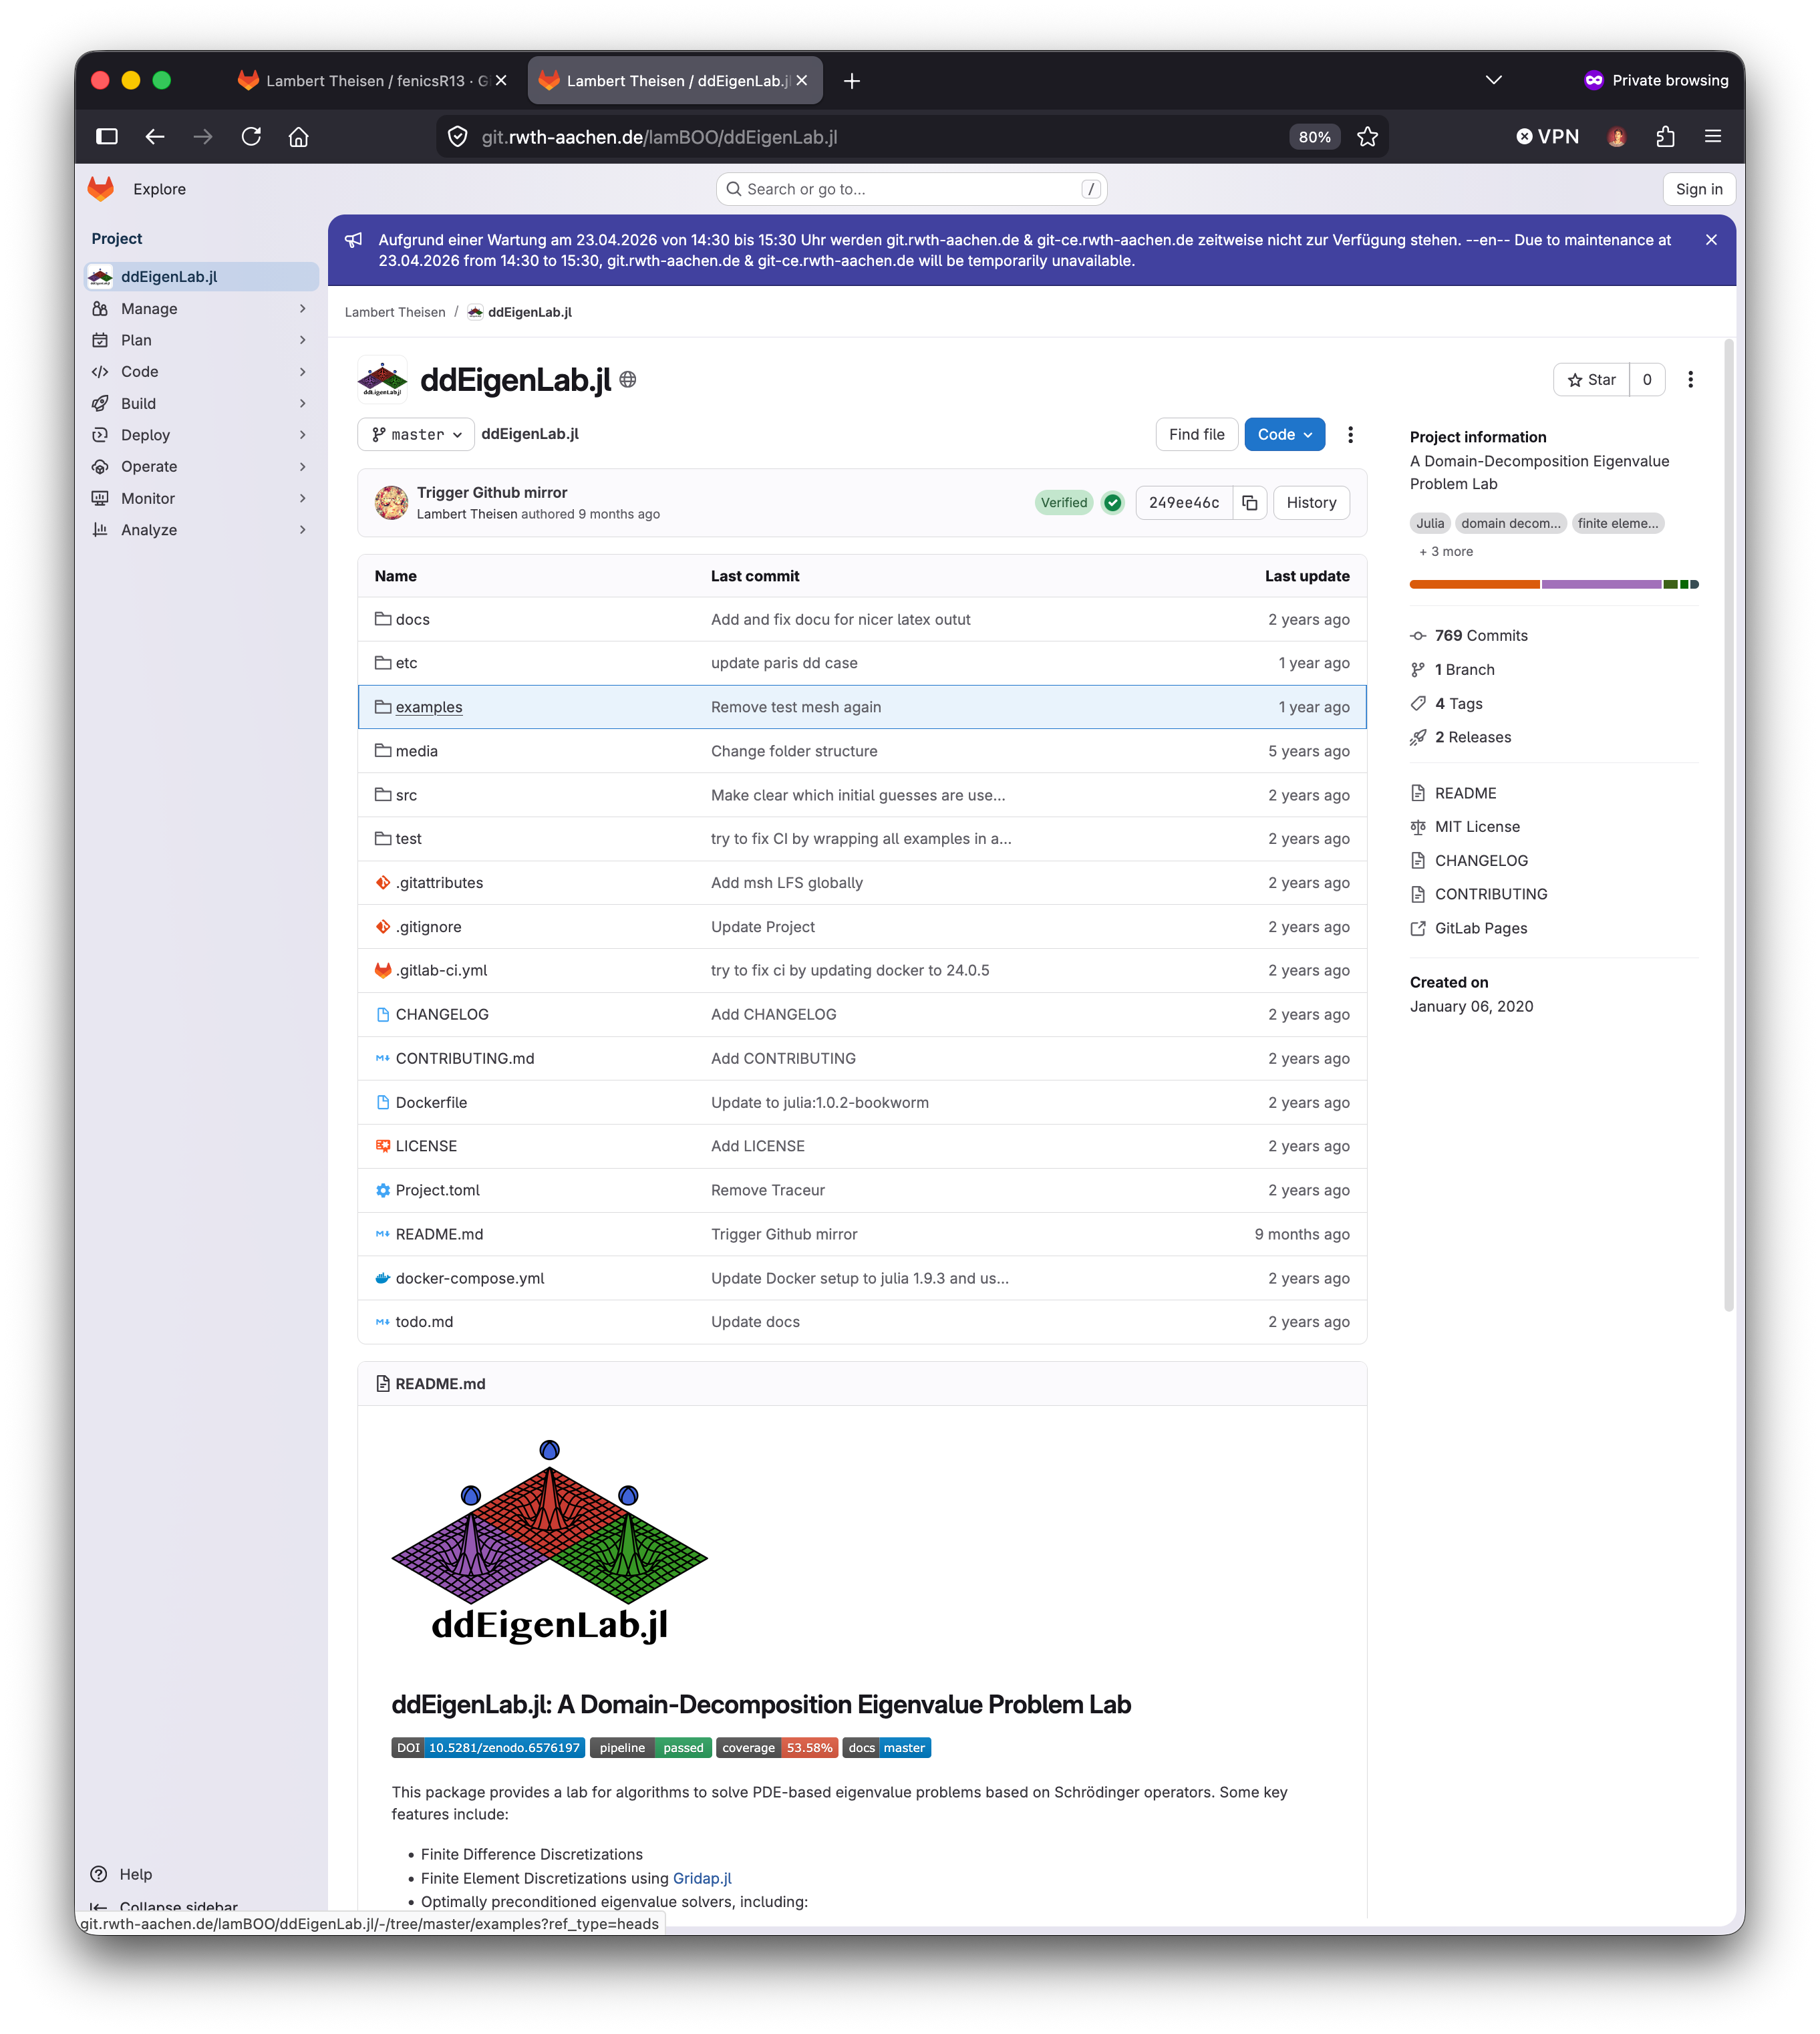
The RWTH provides a Gitlab instance for students and staff (see RWTH Gitlab for teaching or RWTH Gitlab CE for non-teaching projects [license differs]), which is ideal for teaching and research projects. Git NRW will (probably) be the new platform for RWTH projects in the future, so we use it for this course to get familiar with it.
3.1 The usual workflow in OS projects
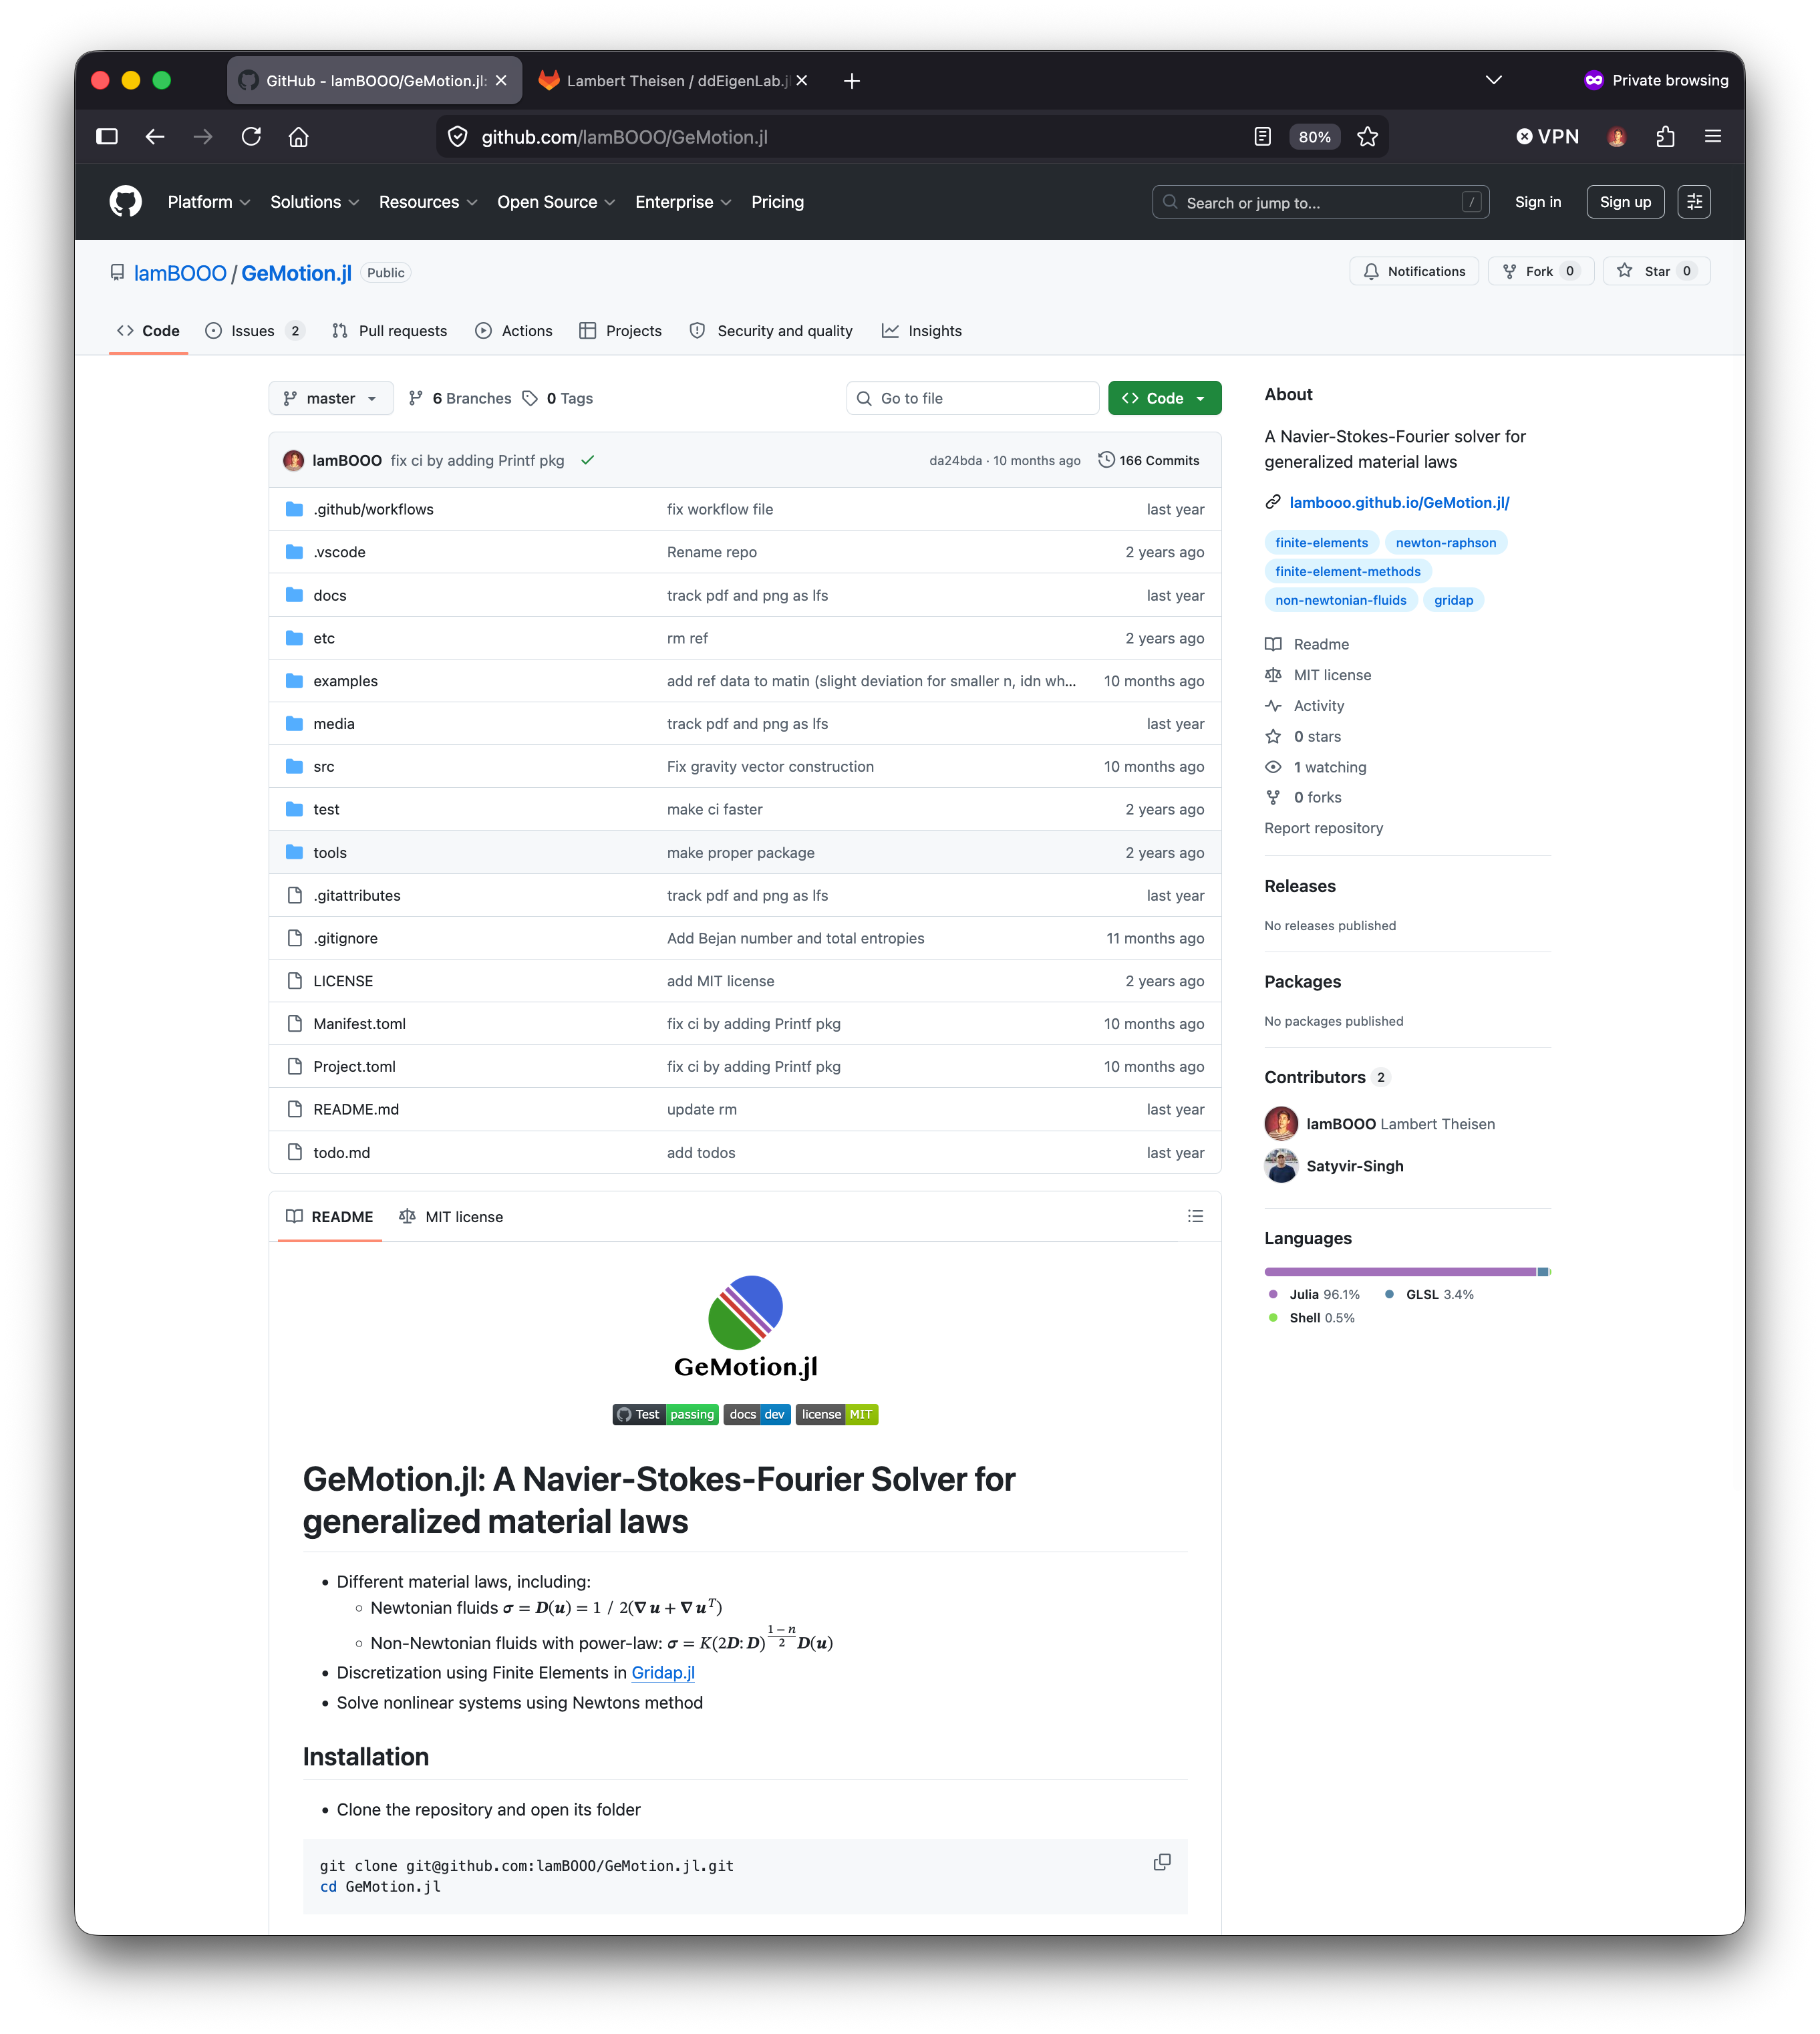
It would not make sense for the maintainers of a OS project to give write access to everyone, so they usually have a “core team” with write access and a “contributor” role for everyone else. Contributors can fork the repository, make changes in their own copy, and then submit a pull/merge request to the main repository. The core team reviews the changes and decides whether to merge them.
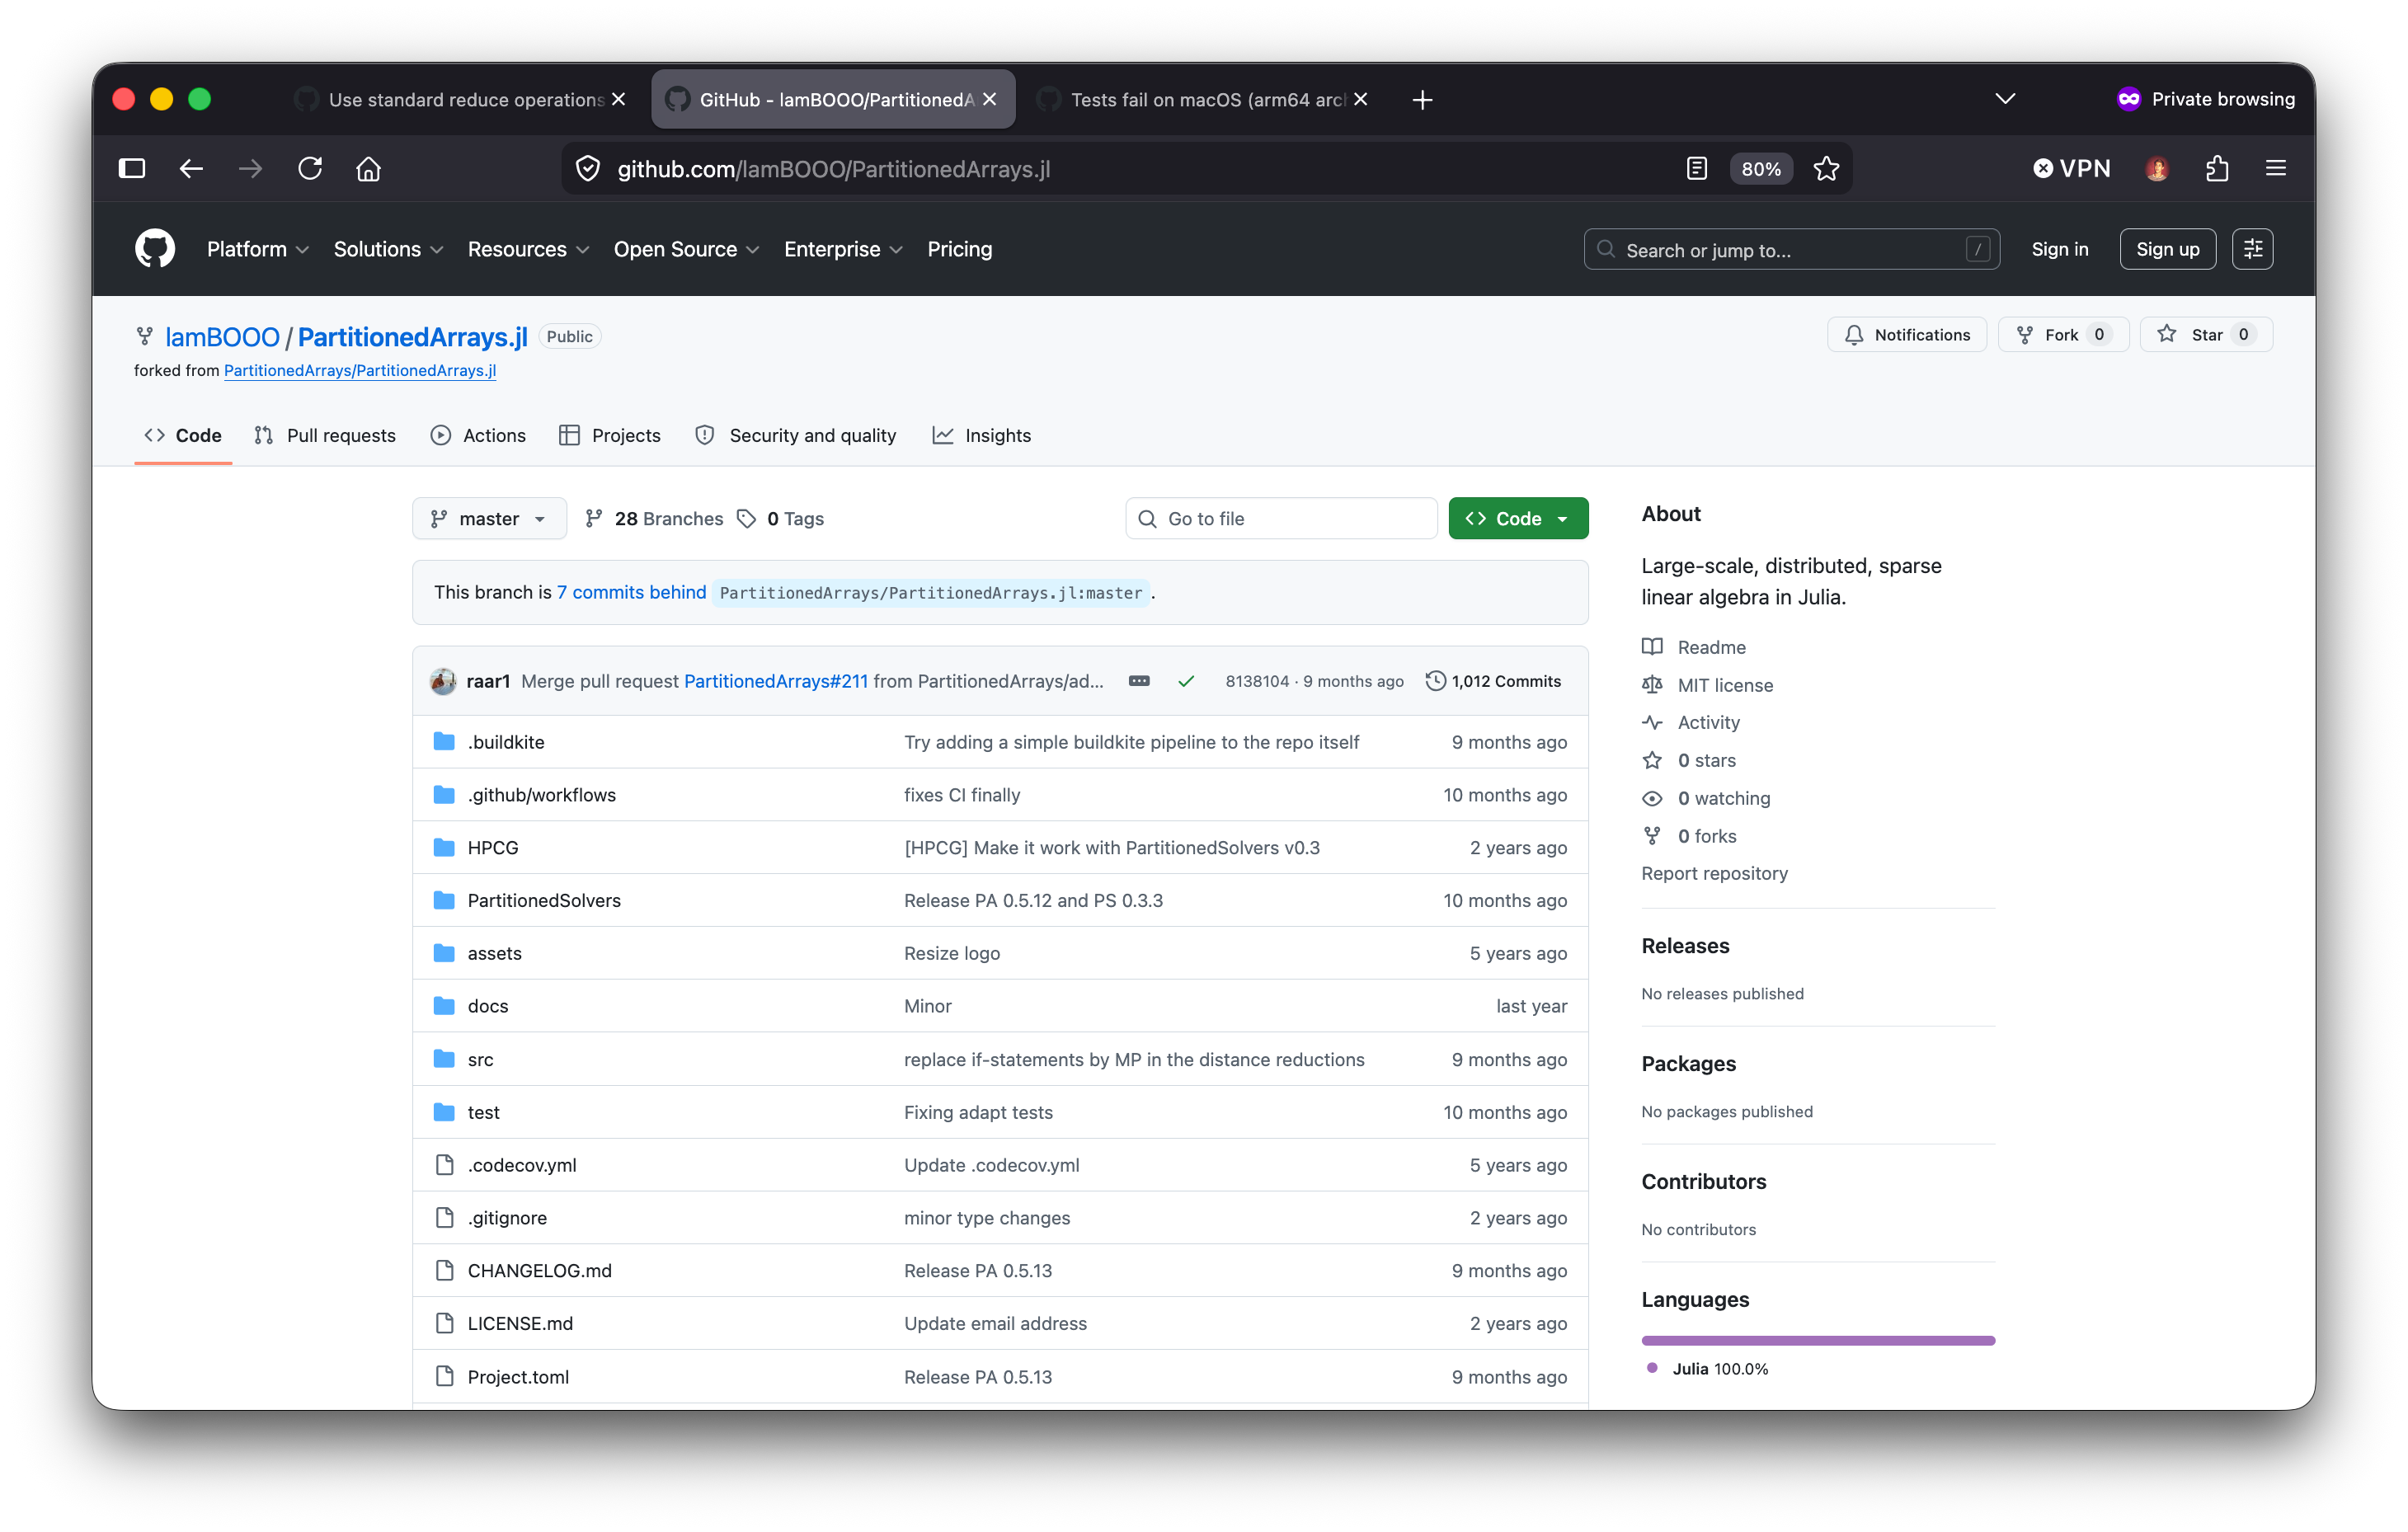
A fork is a personal copy of someone else’s repository. It allows you to freely experiment with changes without affecting the original project. When you’re ready to share your changes, you can submit a pull/merge request to the original repository.
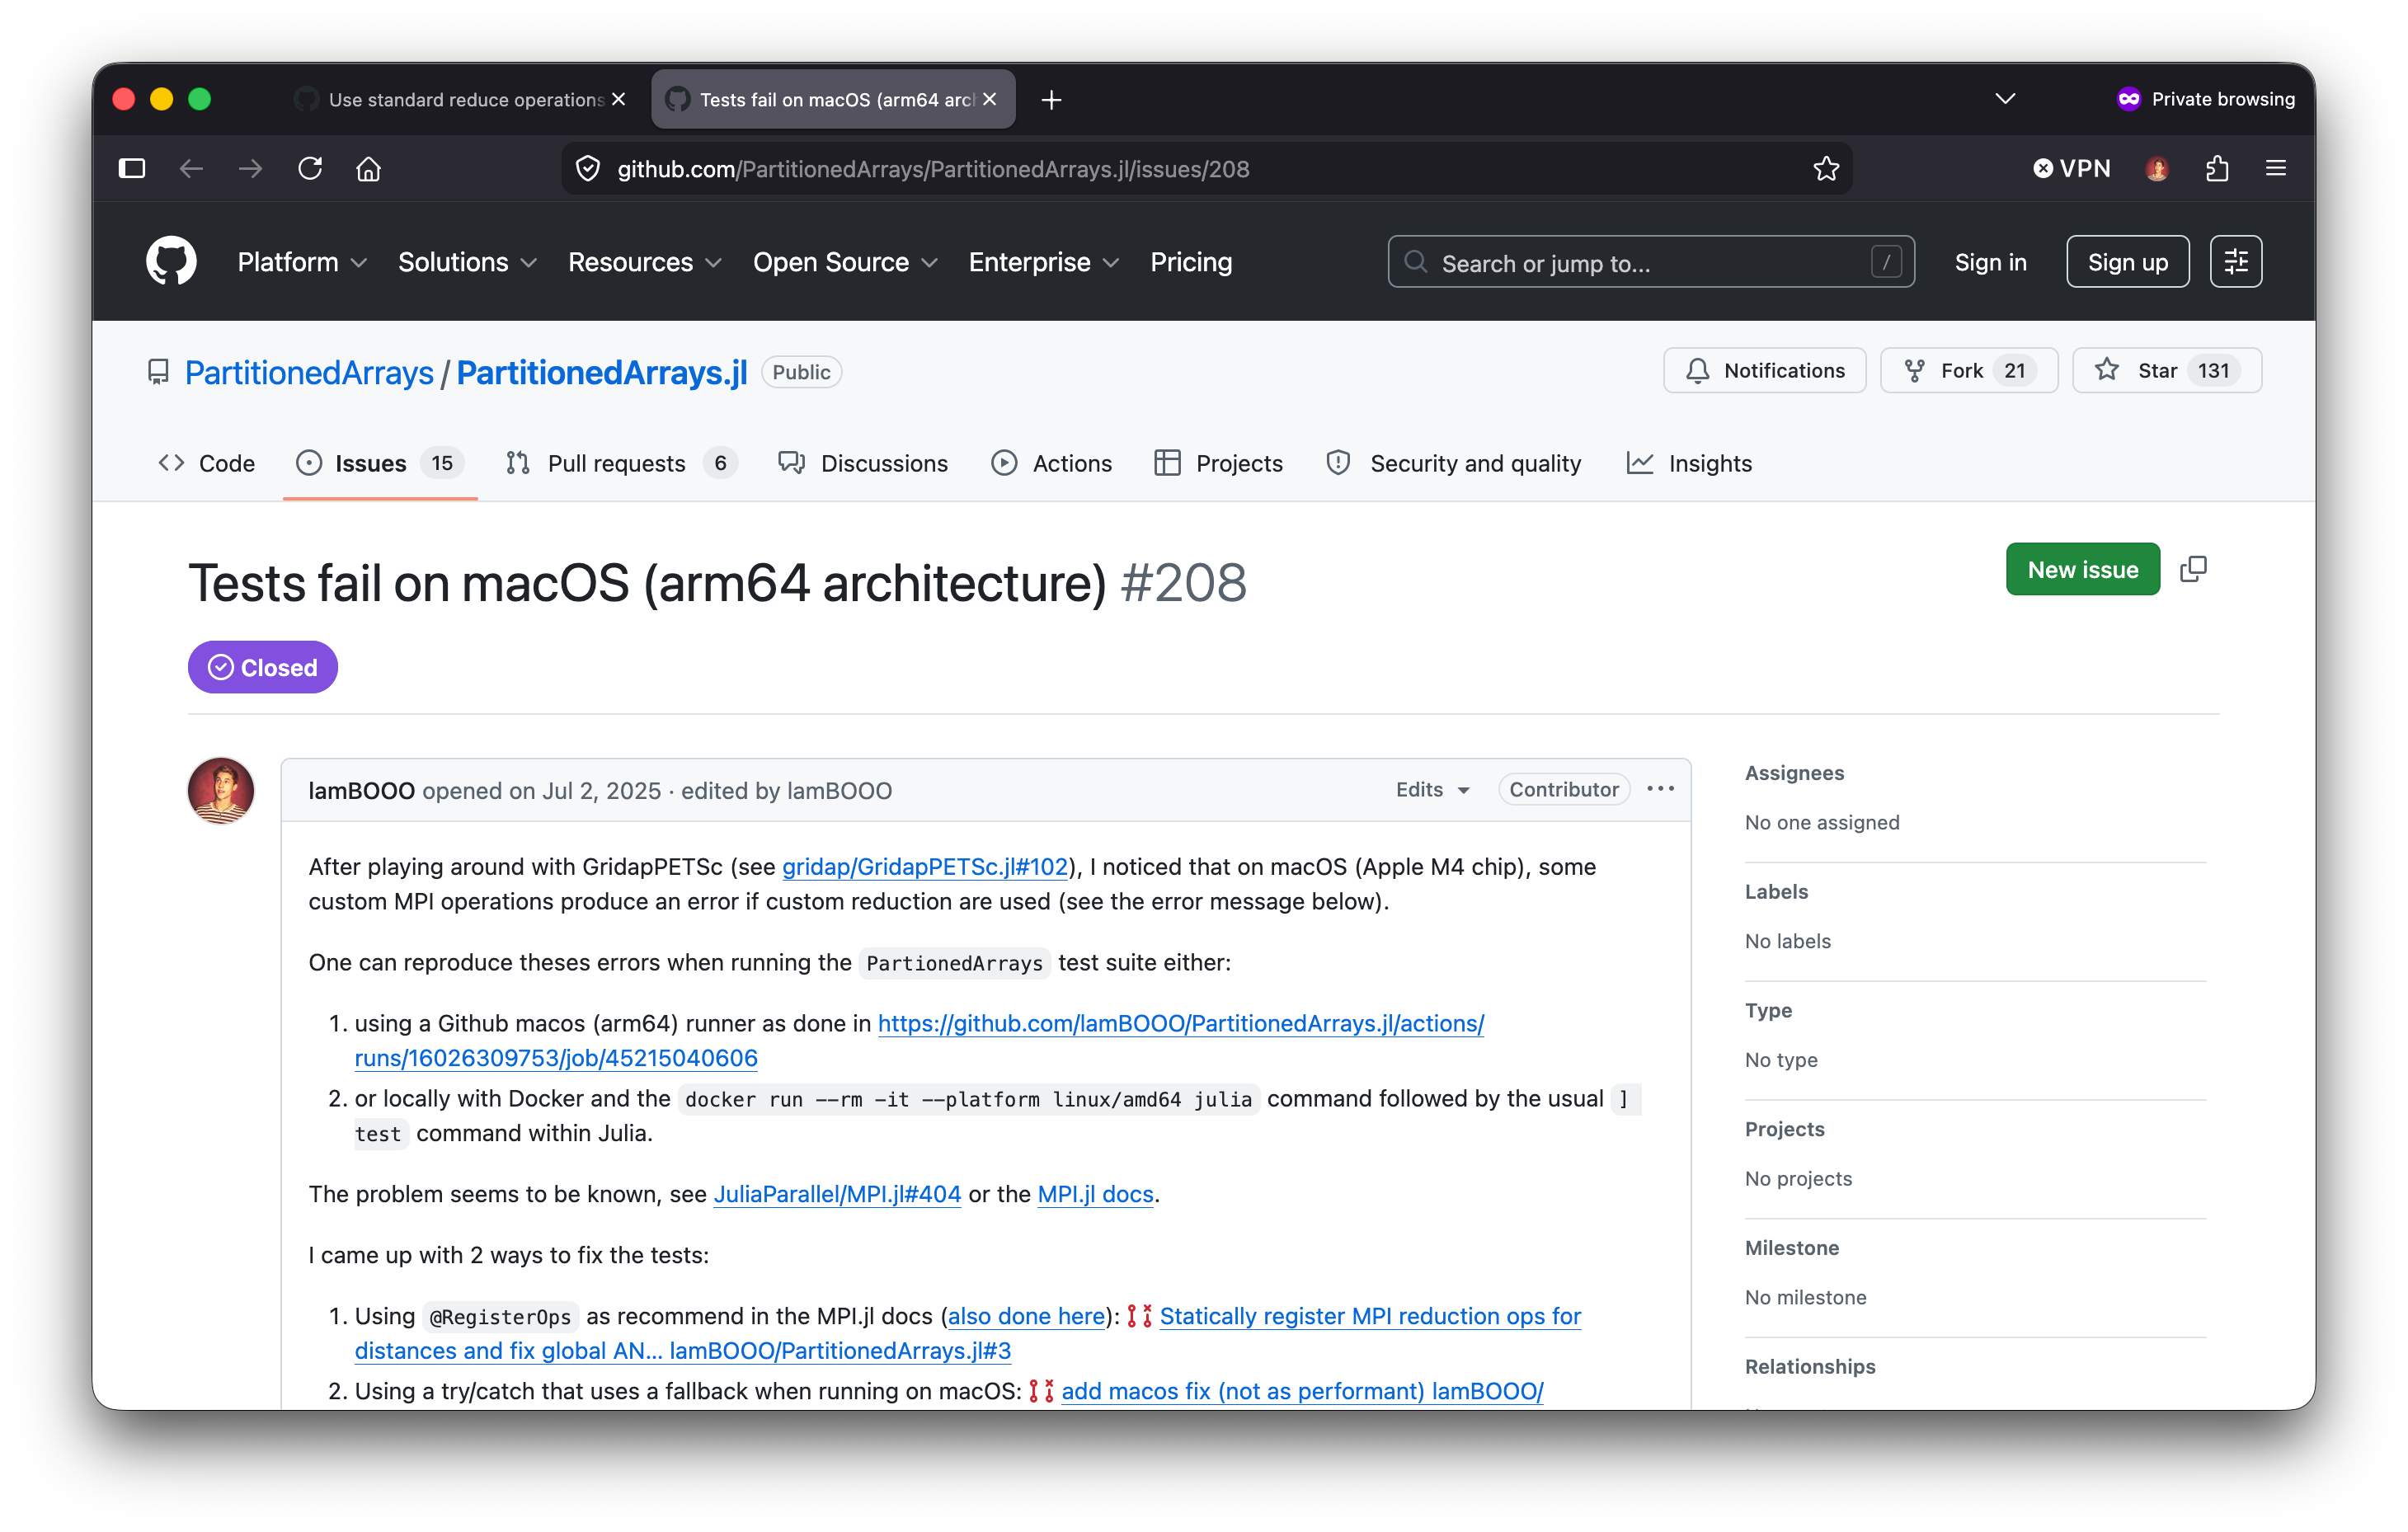
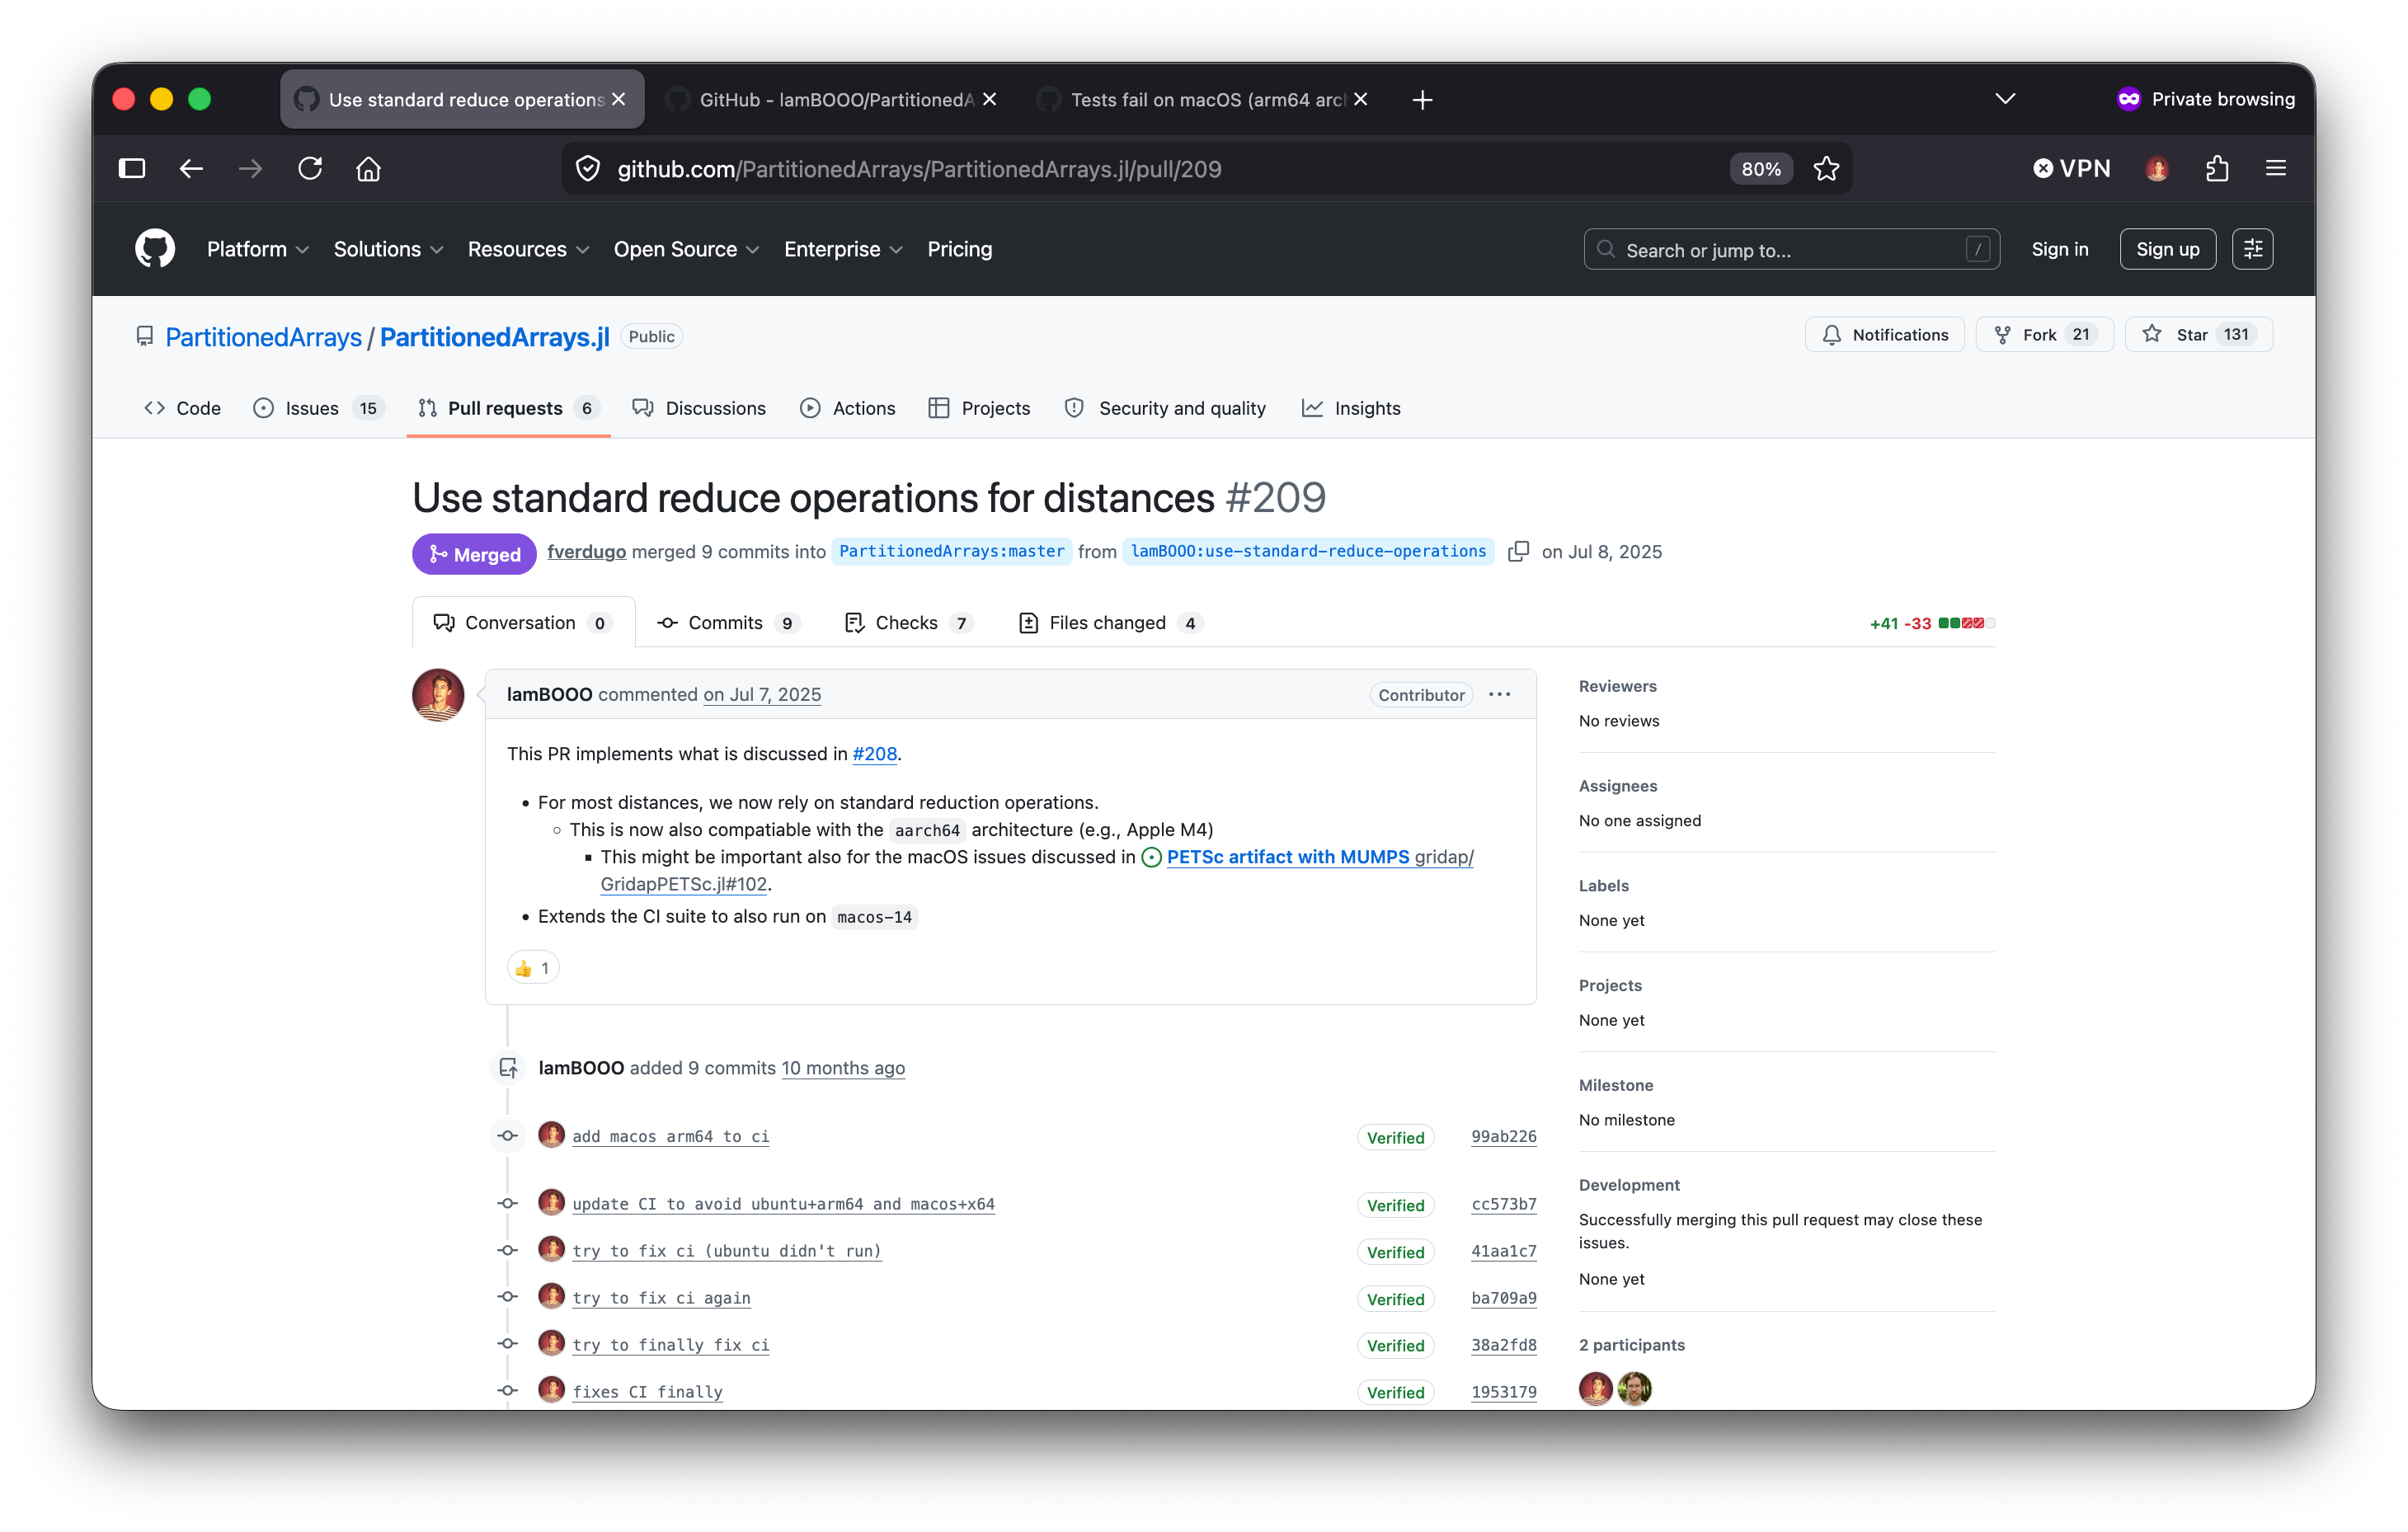
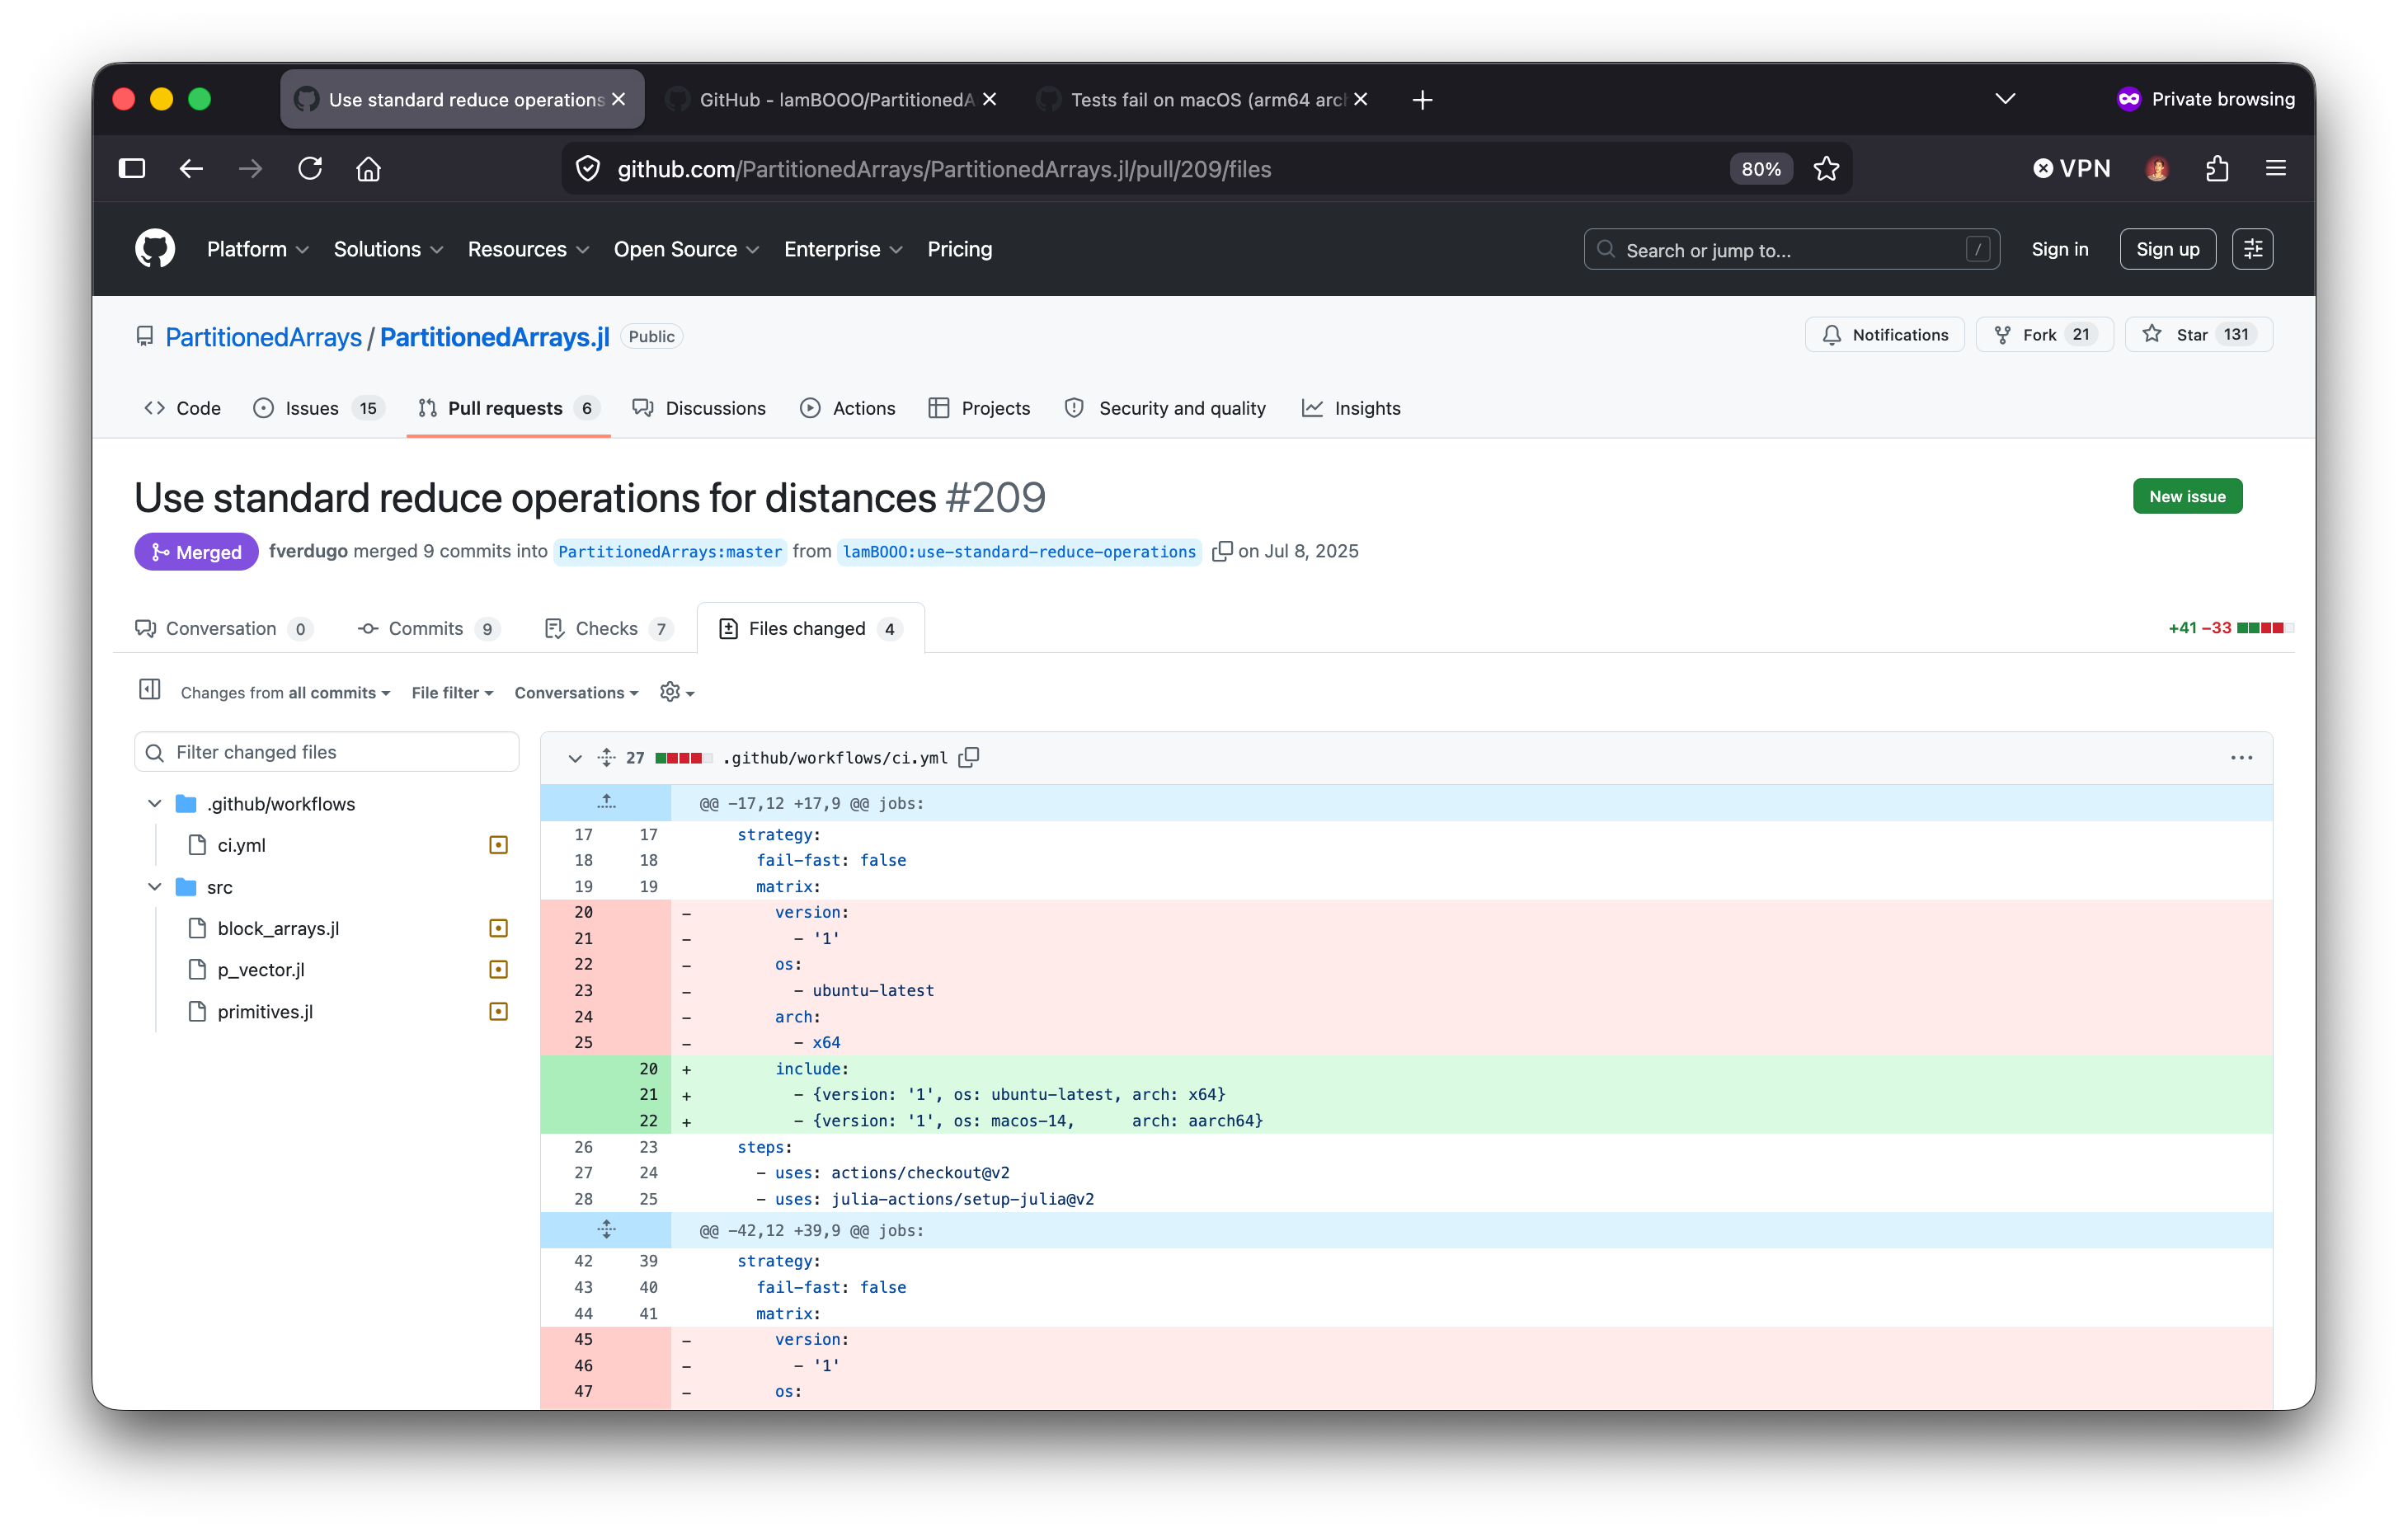
3.1.1 An example
See, e.g., https://github.com/PartitionedArrays/PartitionedArrays.jl/pull/209.
- Open or find an issue to work on, discuss with the maintainers if necessary.
- Fork the repository and clone it to your local machine.
- Add your changes (in a new branch), commit them, and push (the branch) to your fork.
- Create a pull/merge request from your fork to the original repository, describing your changes and their motivation.
- Include potential feedback from the maintainers and iterate until the pull/merge request is accepted and merged.
3.2 Gitlab (Github) CI/CD:
Git NRW offers CI/CD (Continuous Integration/Continuous Deployment) features with free shared runners. Including:
- Executing scripts/tests automatically on every push or pull/merge request. Useful for:
- Testing code changes (e.g., unit tests, integration tests).
- Building documentation.
- Running simulations to check for regressions.
- Saving artifacts (e.g., test results, generated documentation) for later inspection. Useful for:
- Sharing results of CI runs with collaborators.
- Hosting a static webpage (for, e.g., documentation, personal blog, etc.) using Gitlab Pages or Github Pages.
- Container registries for reproducable Docker image storage.
- Tags and Releases: Create software releases with version tags, release notes, and downloadable assets.
# Dockerfile
FROM python:3.13
WORKDIR /usr/local/app

# Install the application dependencies
COPY requirements.txt ./
RUN pip install --no-cache-dir -r requirements.txt

# Copy in the source code
COPY src ./src
EXPOSE 8080

# Setup an app user so the container doesn't run as the root user
RUN useradd app
USER app

CMD ["uvicorn", "app.main:app", "--host", "0.0.0.0", "--port", "8080"]CI/CD features are best understood with an example, see finite difference code later on.
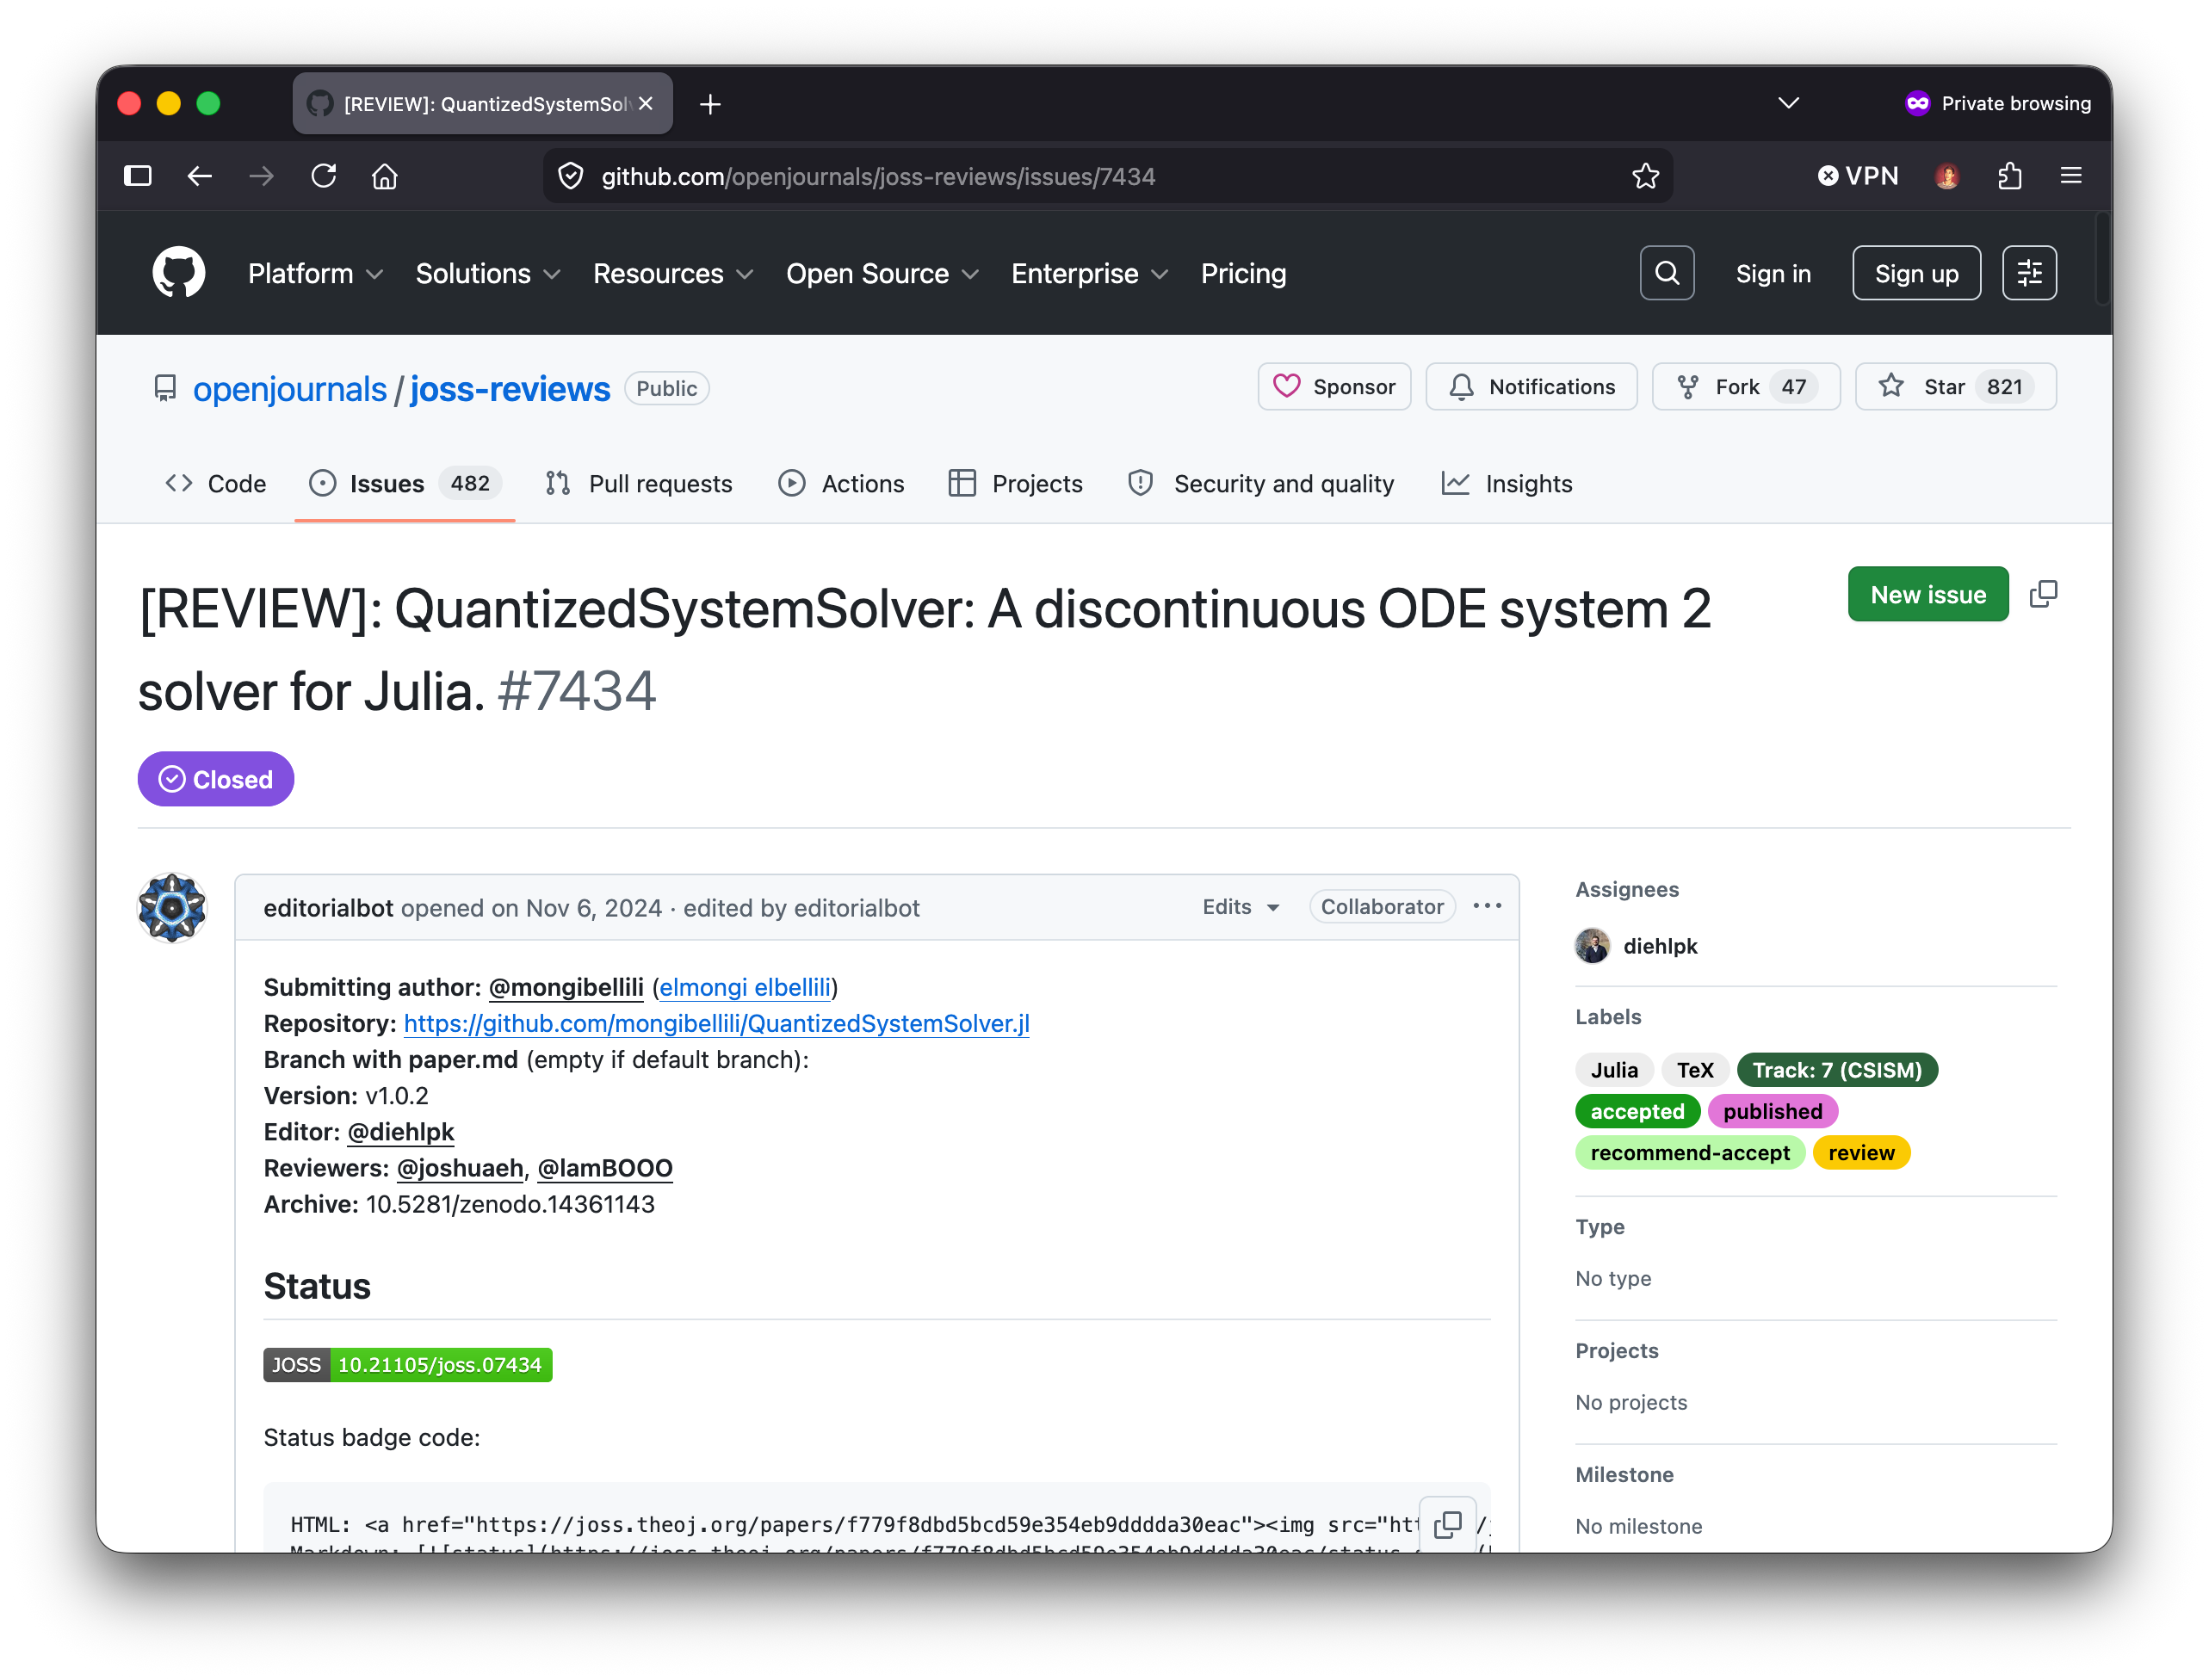
3.3 Other creative ways to use Git
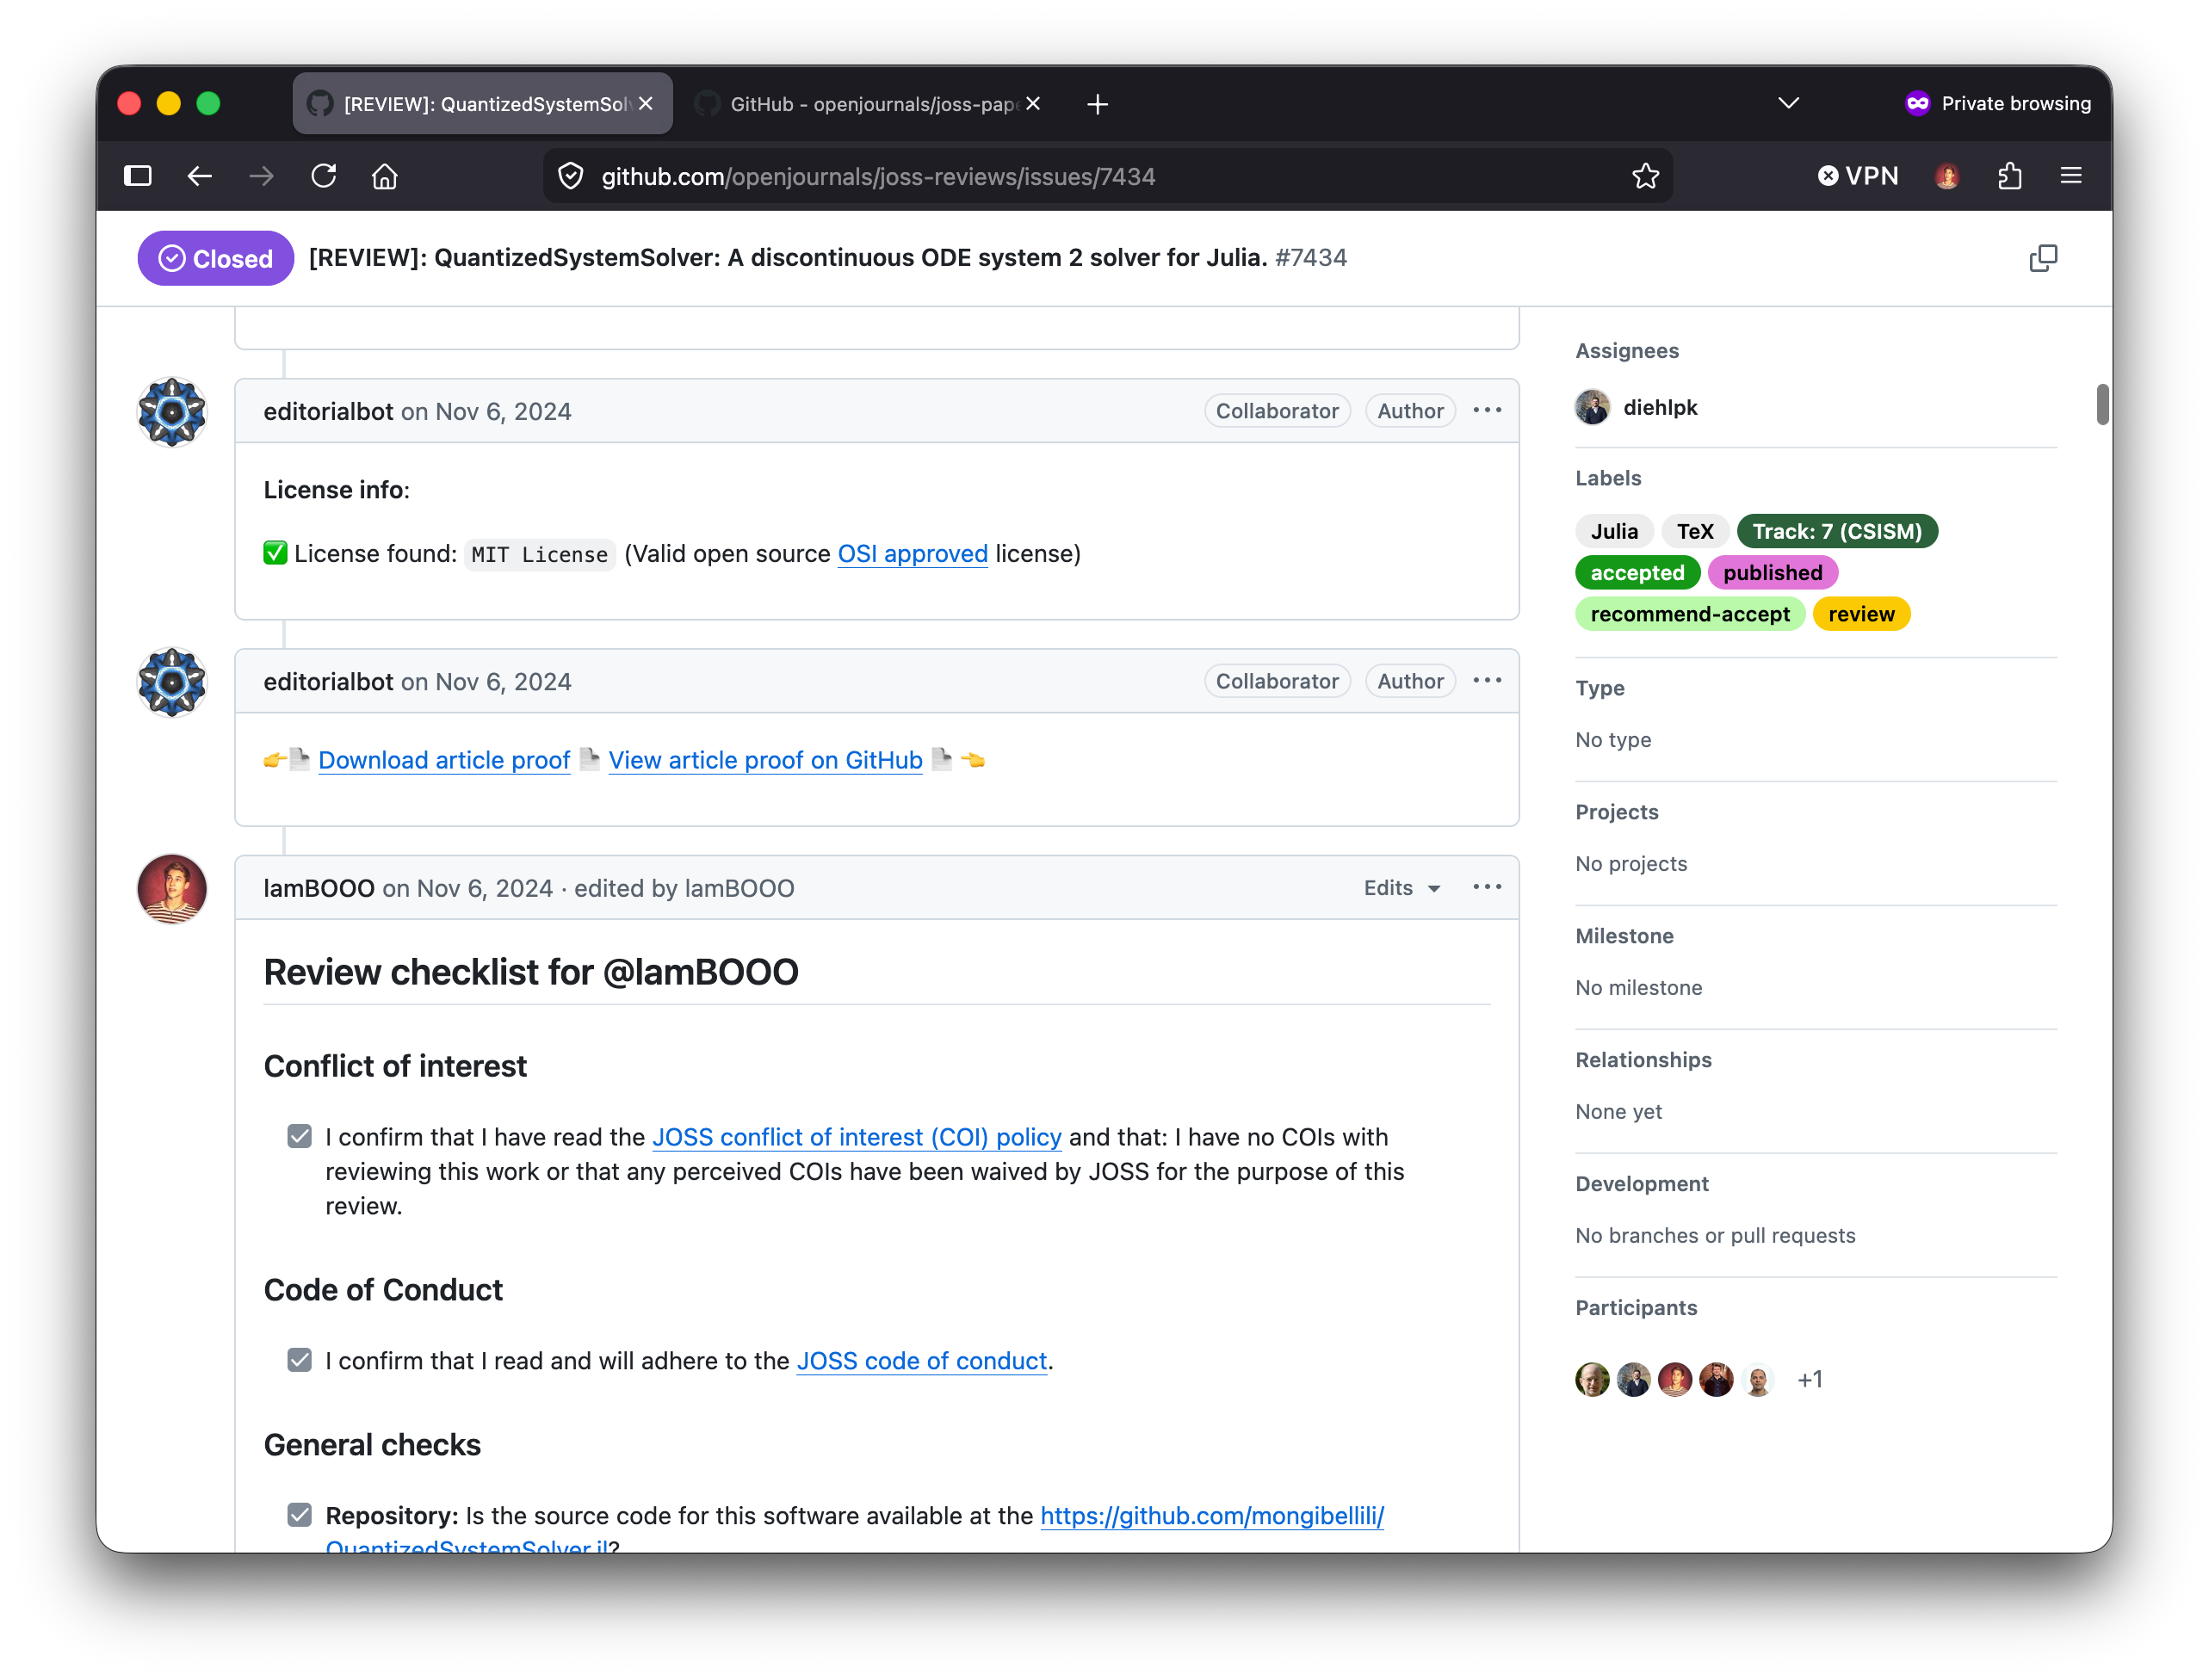
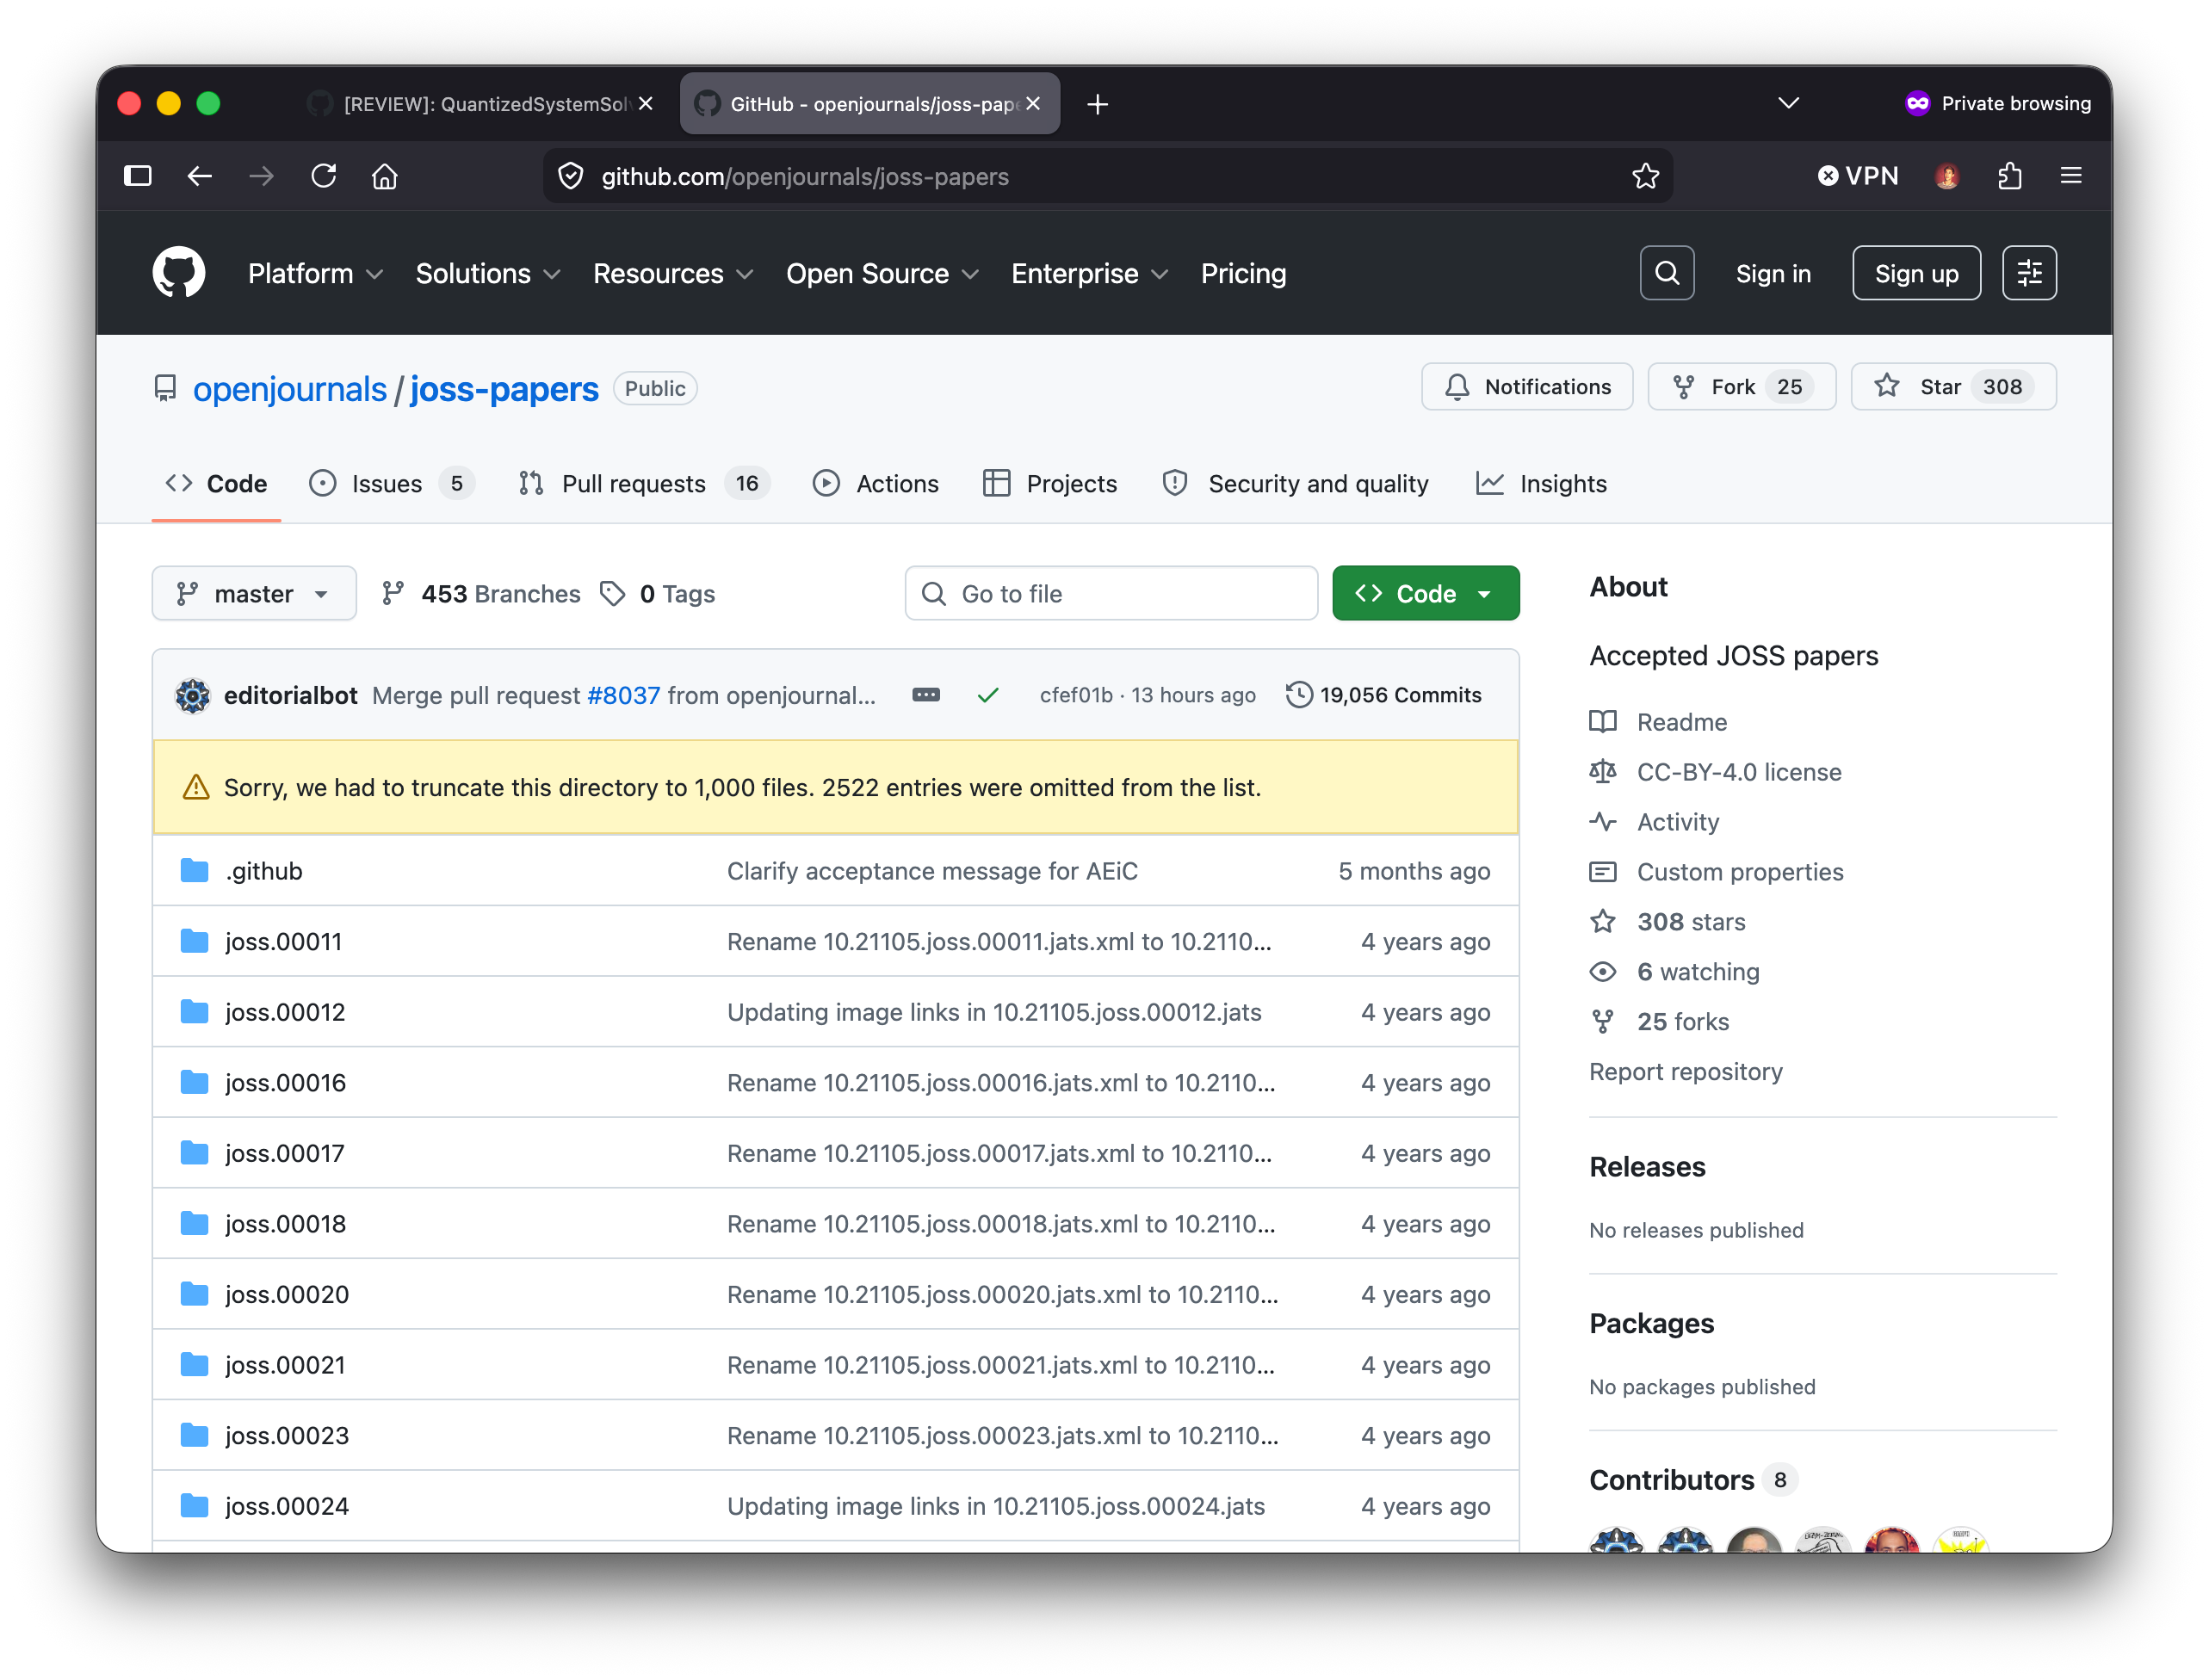
- Journal of Open Source Software (JOSS): They use Git for peer review and publication of scientific software. See https://joss.theoj.org/ for examples.
4 Exercises
- Create a new Git repository for a simple simulation project (e.g., a 2D heat diffusion solver). Initialize the repository, create a README file, and make your first commit.
- Create a new branch for an experiment (e.g., testing a new solver algorithm).
- Make some changes in the new branch, commit them, and then switch back to the main branch. Use
git diffto see the differences between the branches. - Create a
.gitignorefile to exclude generated output files from being tracked in Git. - If you have access to a Gitlab or Github repository, try pushing your local repository to the remote and creating a pull/merge request.
- Open an issue in a public open-source repository, this could be an idea for a new feature or a bug report or simply a typo in the documentation. Then, fork the repository, clone it to your local machine, and make a change to address the issue you opened. Finally, submit a pull/merge request with a clear description of your changes and how they address the issue.
- What is the difference between
git mergeandgit rebase, and when would you use each one in the context of a simulation software project?
5 Questions
- What are the benefits of using Git for simulation software development?
- What types of files should you track in Git for a simulation project, and which should you avoid?
- What are some best practices for writing commit messages in a scientific context?
- What is a fork, and how does it differ from a branch in Git?
- What is a typical workflow for contributing to an open-source project on GitHub or GitLab?